Standalone PassMan - base configuration
Installing in a VMware environment
- Log in to a VMware environment from where we can deploy an OVF Template.
- First select the folder where you want to install PassMan.
- When done right click on it and from the context menu select "Deploy OVF Template"
- Here we can select the path of the Appliance: URL or local storage.
- After making your selection click on "Next" and choose the folder structure where to place your machine.
- Than select the resources.
- On the next screen a summary will be displayed. Click on "Next"
- Select storage space and click "Next"
- Select the network and click "Next"
- On the last window will see another summary. Press "Finish".
- Importing of the virtual machine will take about 5-10 minutes.
- Once imported start your machine.
Configuring PassMan Welcome Page
- We will need the IP address of our imported PassMan machine. There are two ways to find that out:
- Using VMware implemented tools (the 172.17.x.x is a different one, we need the second IP address: 192.168.205.55 - in the example underneath)
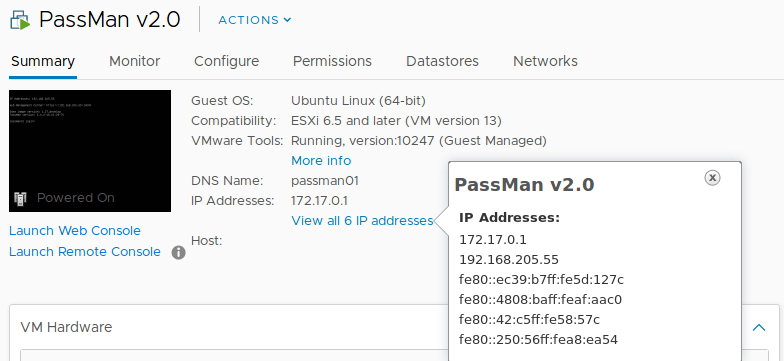
- Launch Web Console:

- Using VMware implemented tools (the 172.17.x.x is a different one, we need the second IP address: 192.168.205.55 - in the example underneath)
- When we have got the IP address type into a web browser (recomanded browser:Google Chrome)(in our example: http://192.168.205.55).
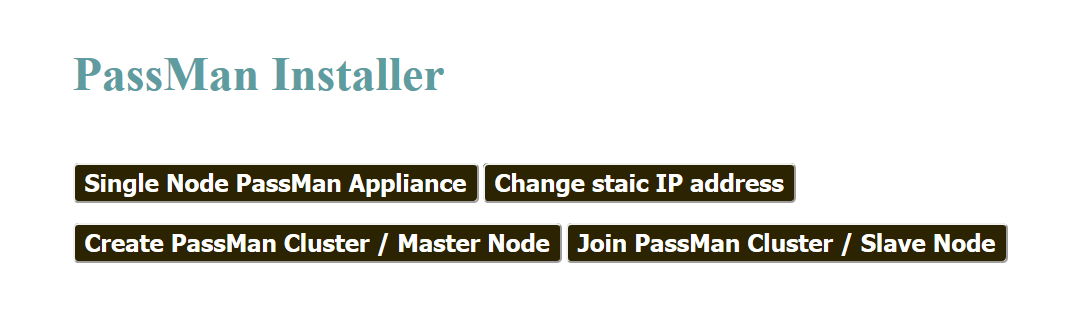
- First click on "Change static IP Address"
- Here enter the IP address where you want PassMan to be reached.
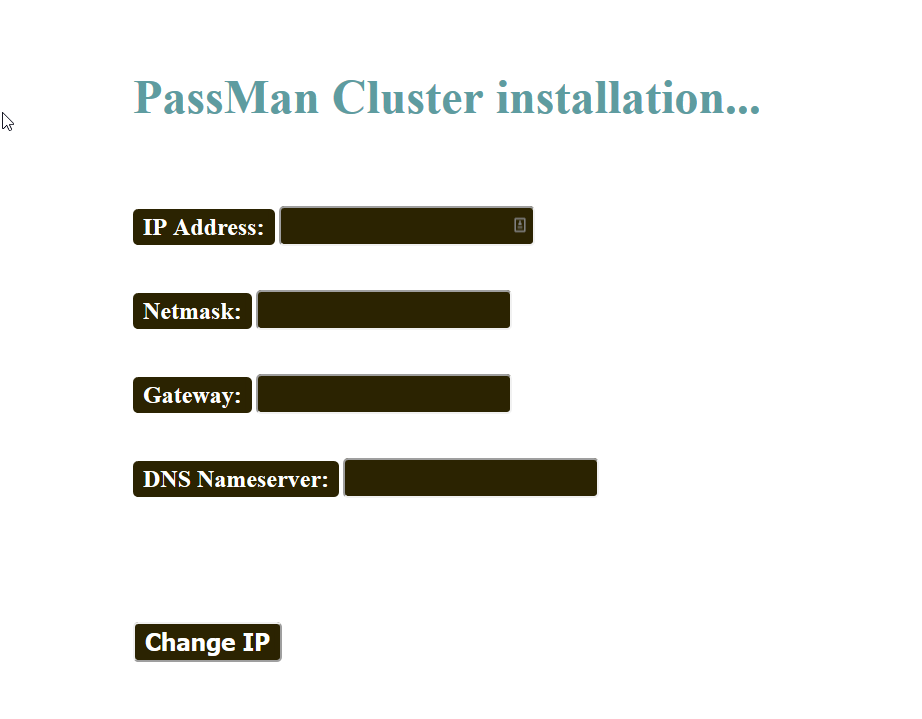
- The application will redirect to the IP address entered here.
Now click on "Single Node PassMan Appliance"
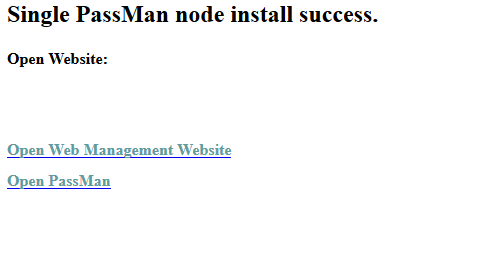
Installation starts. When it is done the next page should be on the screen.
Initialization
When installation is done click on "Open Web Management Wesite"
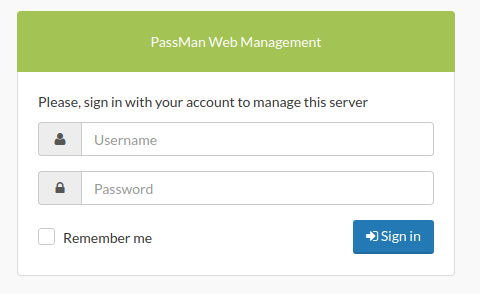
On the login screen type in your login and password datasets (default: manager/manager)
We recommend to change the password after first login. This can be done at "User administration > "Manager" user management".
This is the Webmin. It can be reached by typing the fallowing into the browser https://<IP address>/admin.
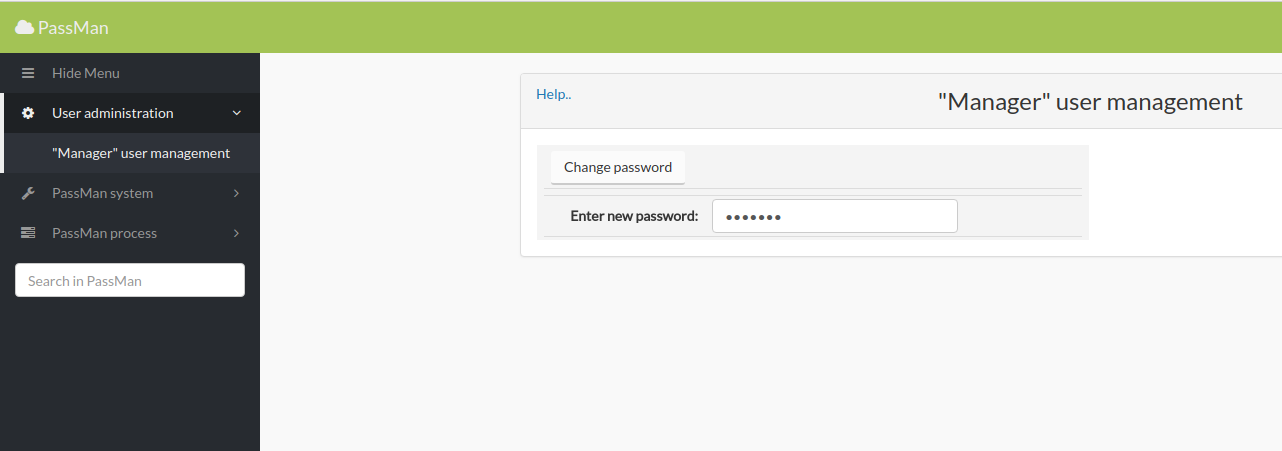
IMPORTANT! No password confirmation field present or "Show password" function. Please take extra care when typing in a new password.
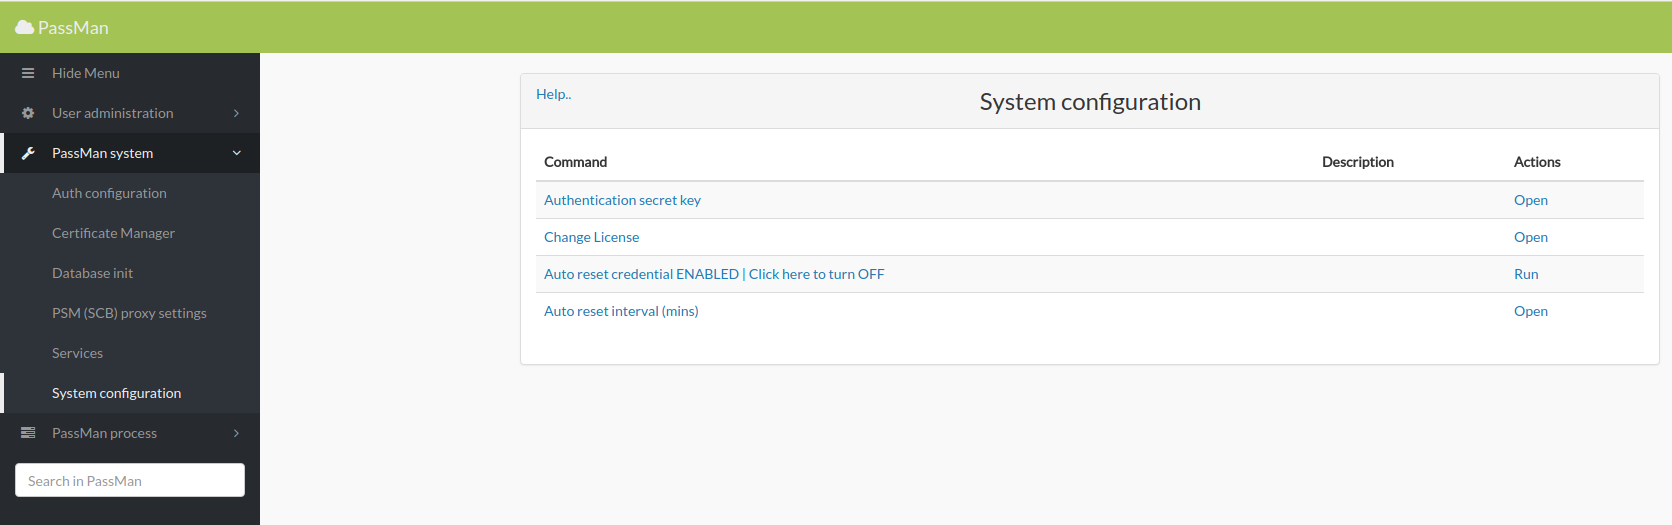
On the left hand side panel go to "PassMan System > System configuration" and select "Change Licence".
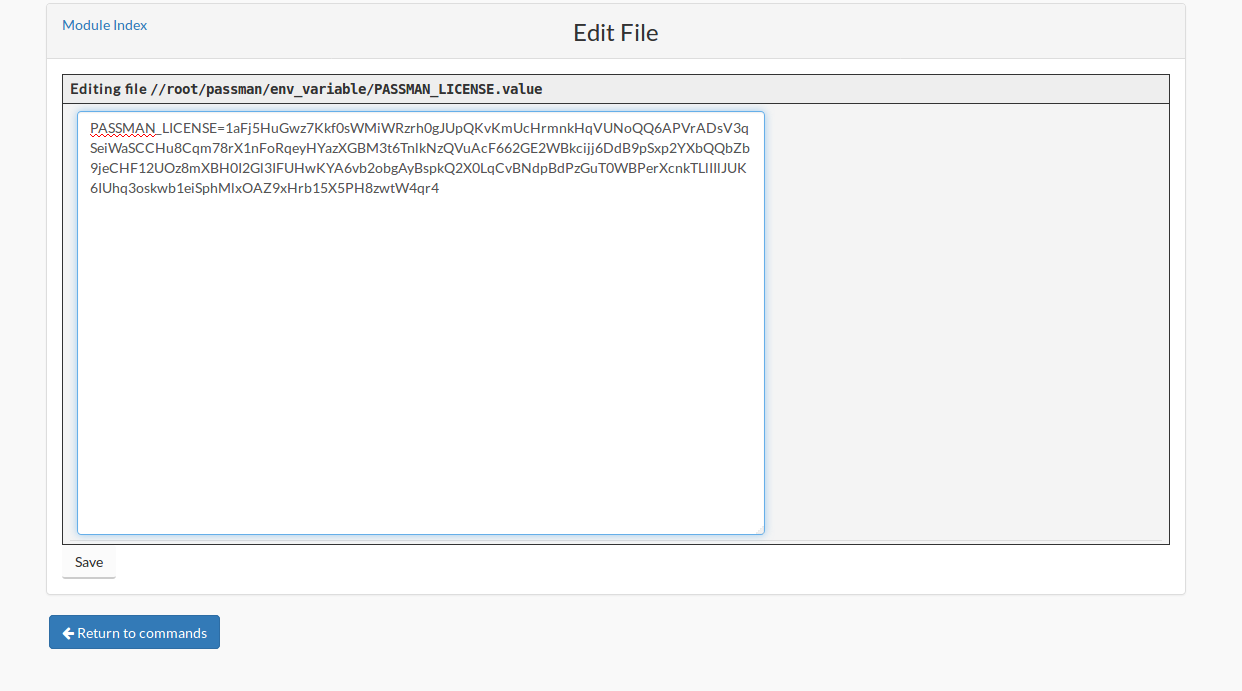
Insert your licence in the appearing window after the "PASSMAN_LICENSE=" text. Click on Save.
Select the "PassMan system > Database init" option.
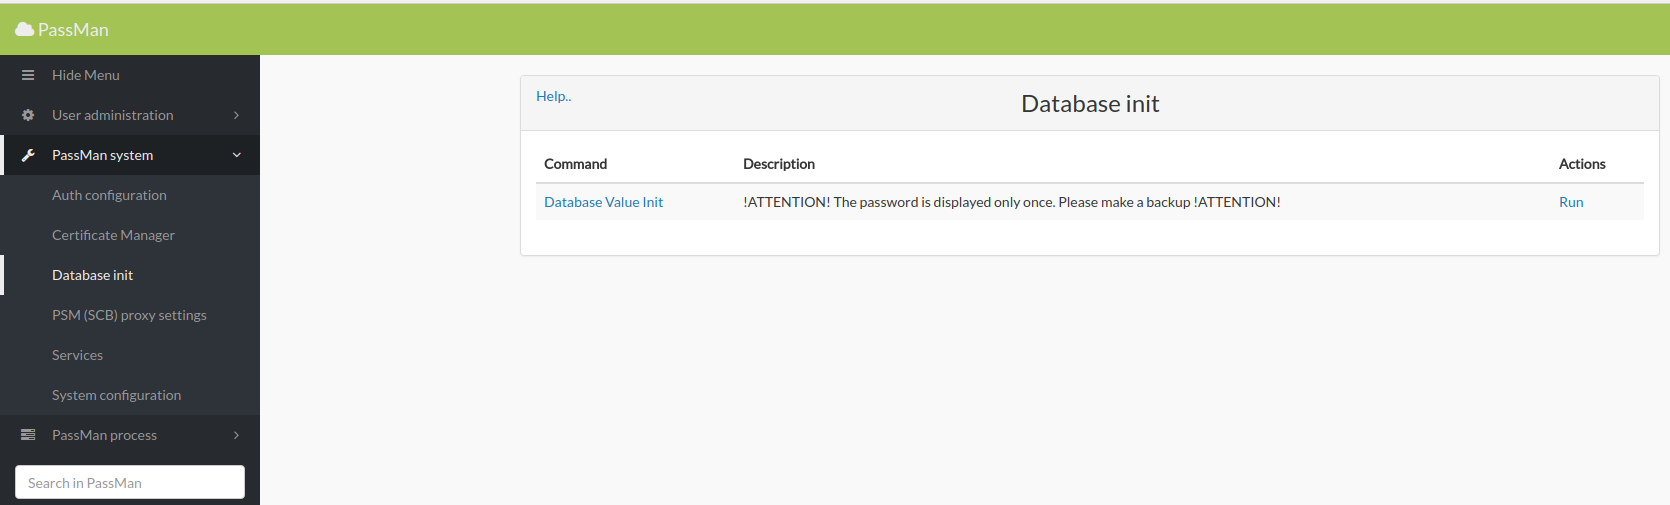
Click on Run function next to the "Database Value Init".
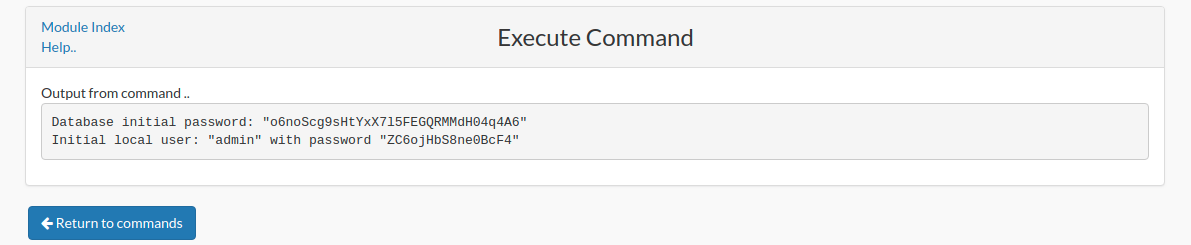
Here we are shown to a unique vault password. Save it. (in our example above: o6noScg9sHtYxX7l5FEGQRMMdH04q4A6)
Together with the init key, the system generates the admin user with it's password. (in our example above: ZC6ojHbS8ne0BcF4) Ones loged in it is recomanded to change this password, although this password should be fairly safe, complex.
IMPORTANT! These credentials only appears ONCE. There is no way for it to be shown on the screen again. SAVE it good and keep it safe.
Open PassMan by typing the set IP address. (recommending Google Chrome, in our example http://192.168.205.55)
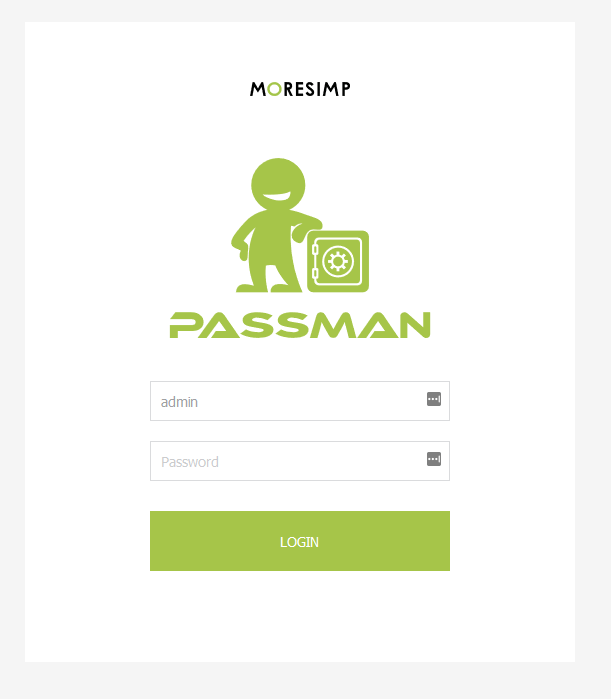
Log in with the given login/password datasets. (admin/<password created earlier>)
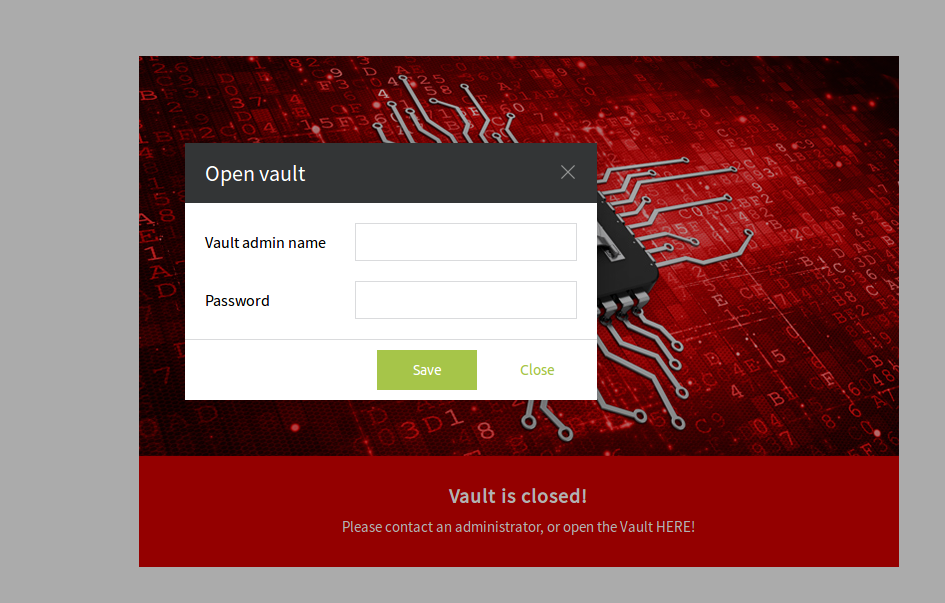
After successful login we are met by a full screen error message saying that the Vault is closed.
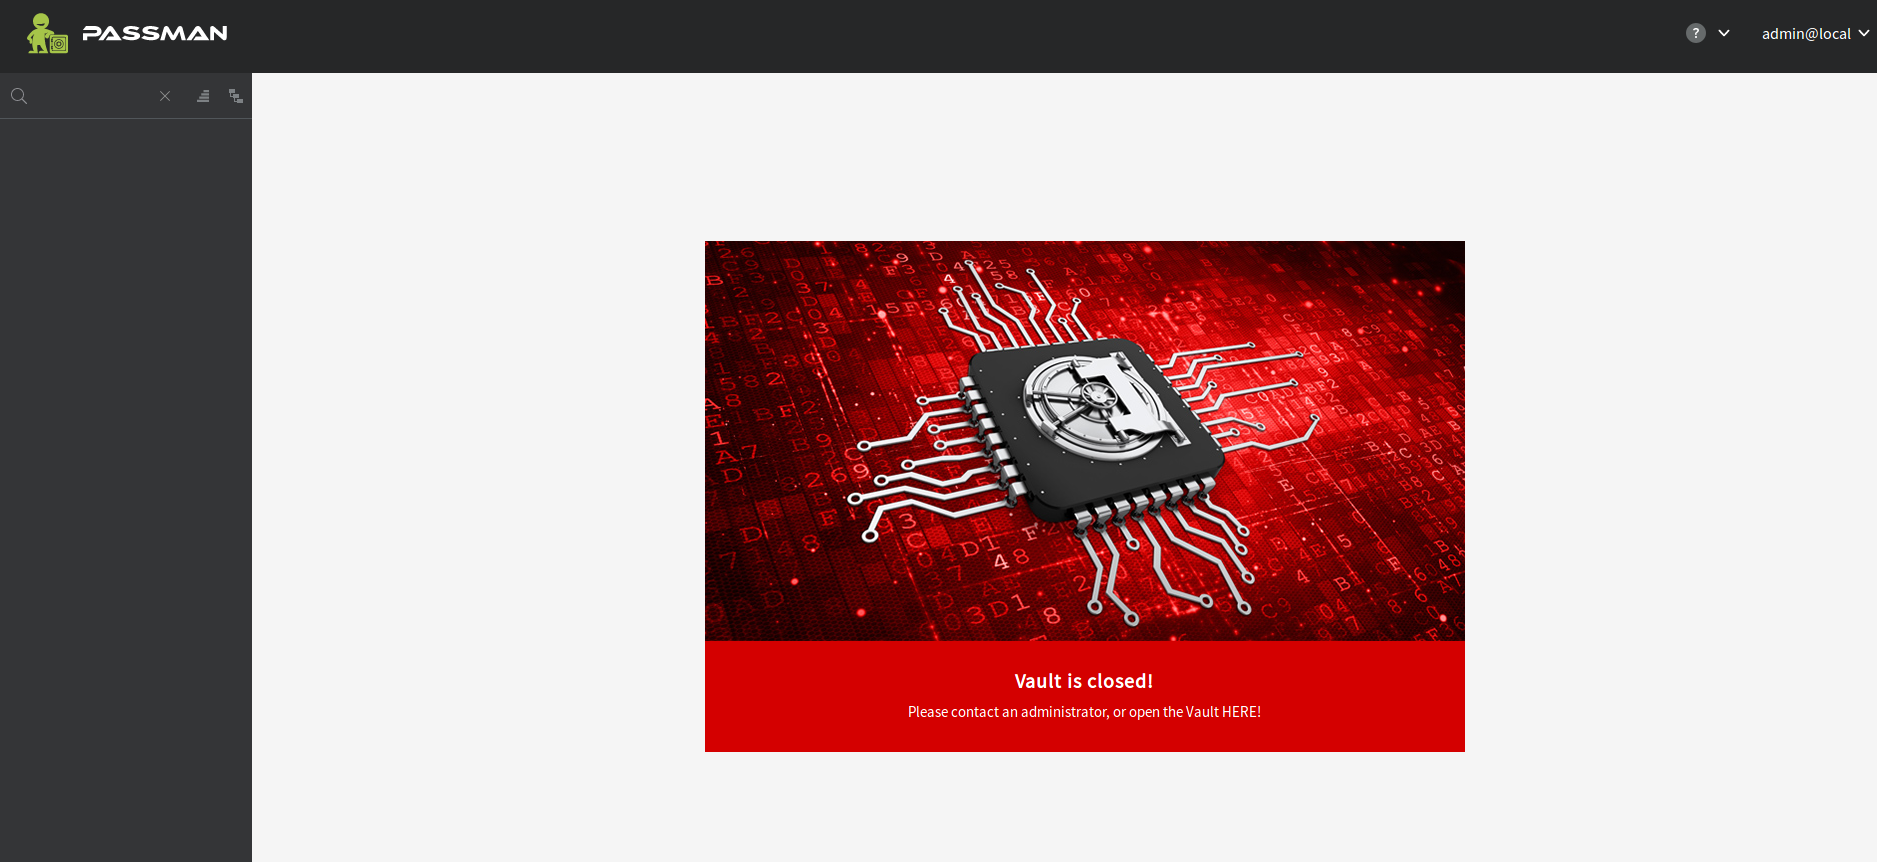
Click on the picture. A dialogue window activates. Type in the password generated when "Database init" has been run. The user name is "initial"
Installation and initialization has been complied. PassMan is ready to be used.