Proxmox image installation
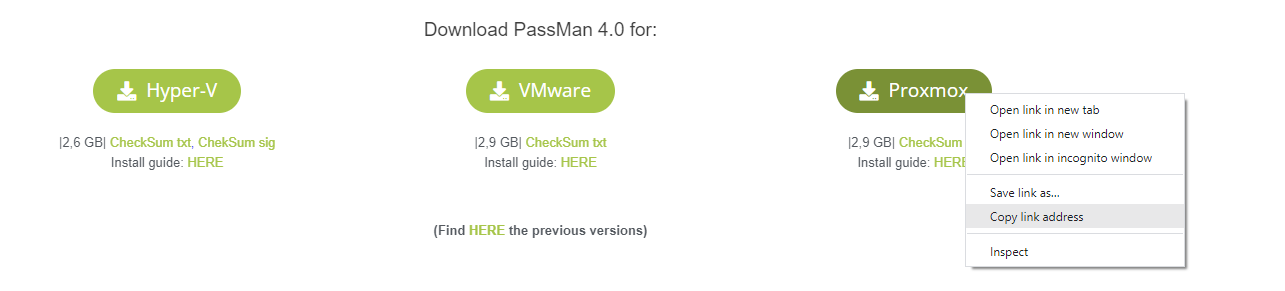
To install Passman on Proxmox, first you need to download the installation kit (ova file) from this page.
Creating a VM Template
Let's create the template from which we will install the cluster nodes:
1. Copy the Passman installation image (ova file) to the Proxmox node.
First, copy the Proxmox .ova file's installation link from the website.
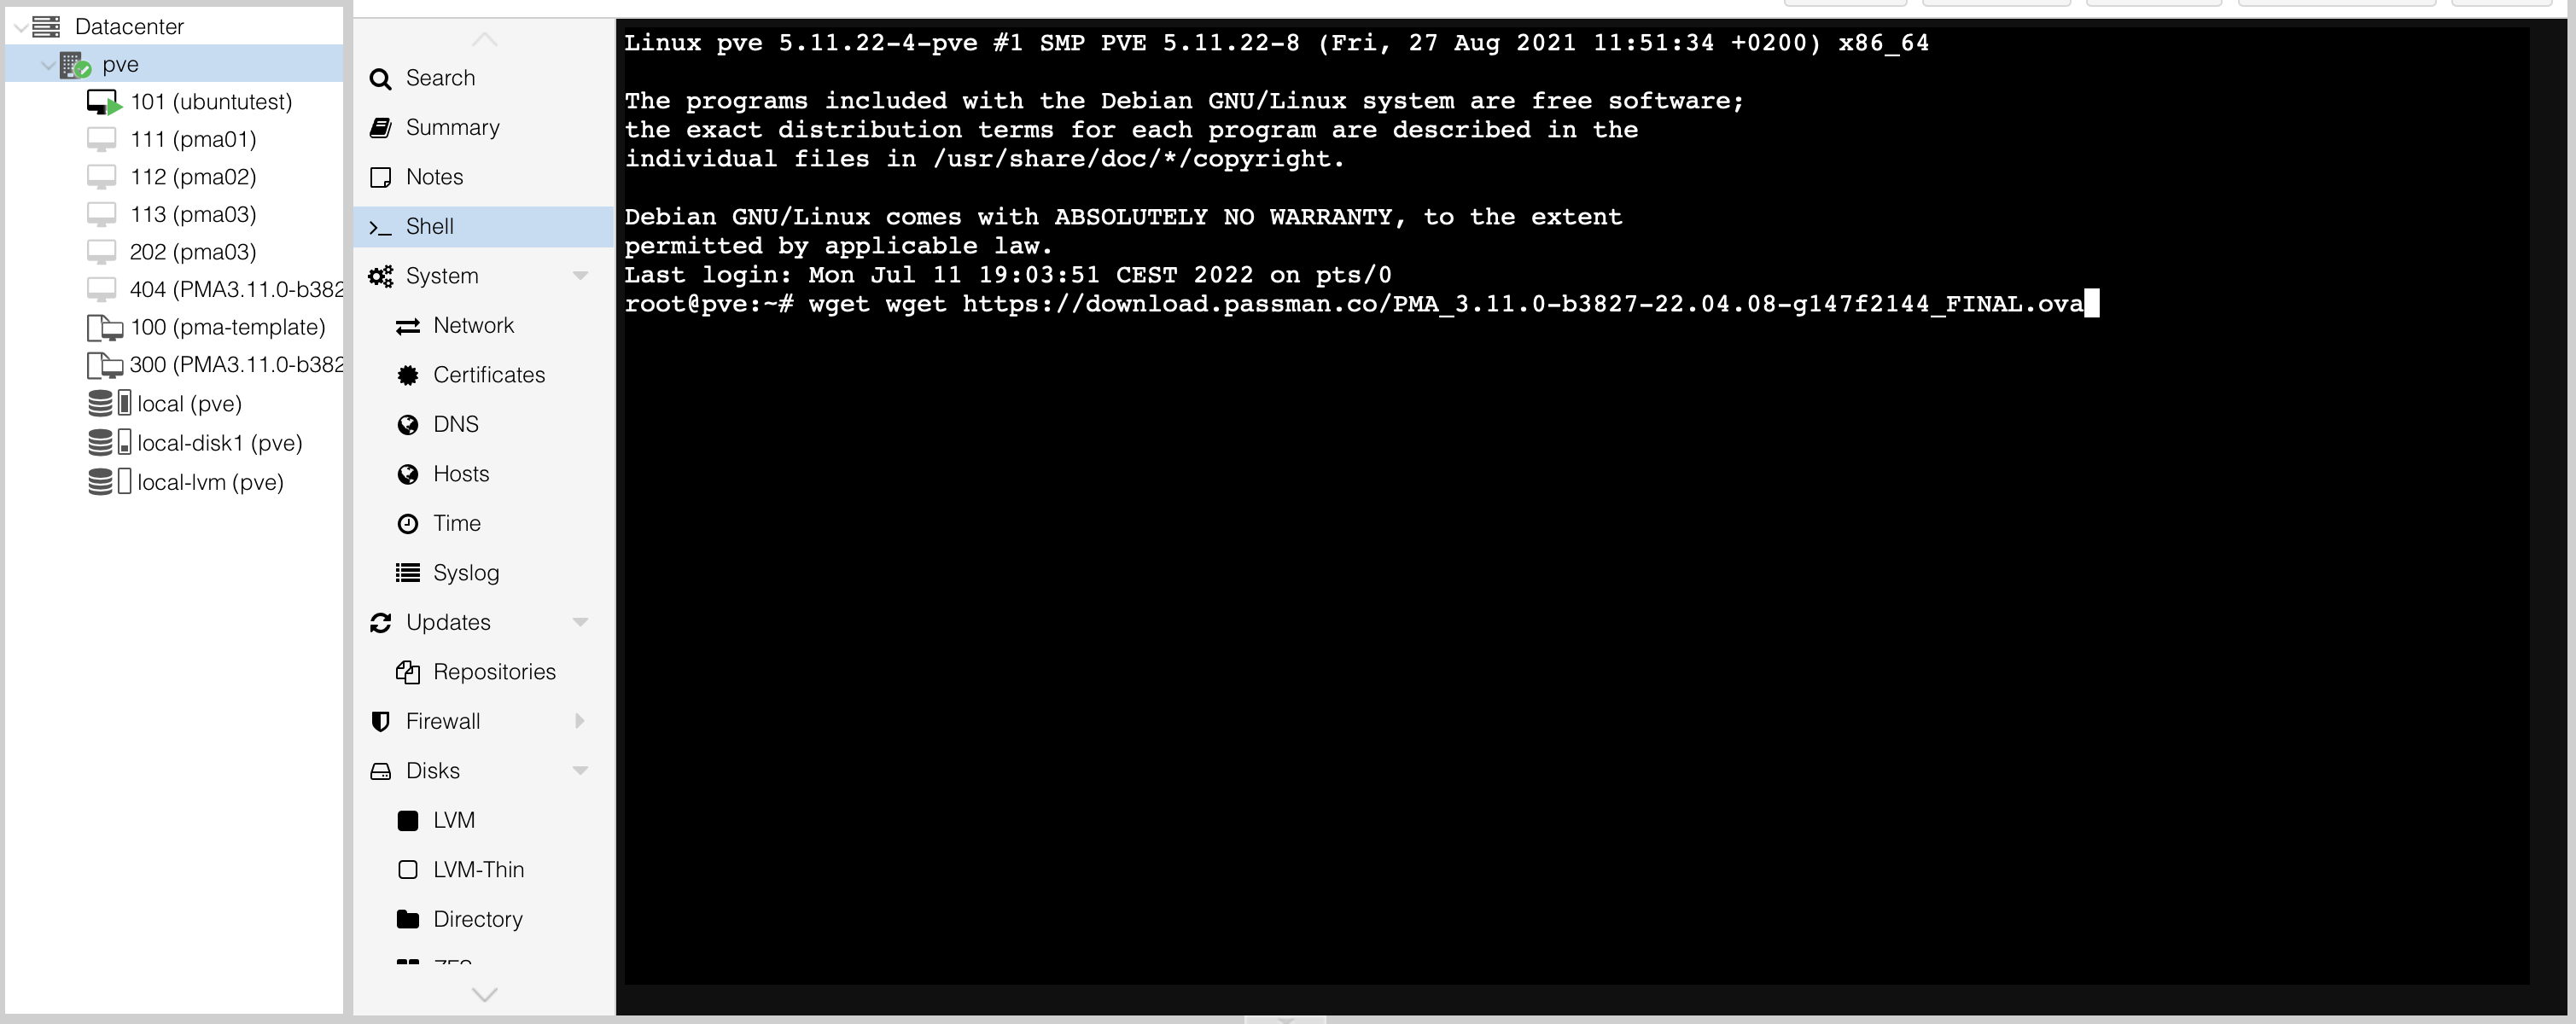
Now, use the wget command to download the file to the Proxmox node.
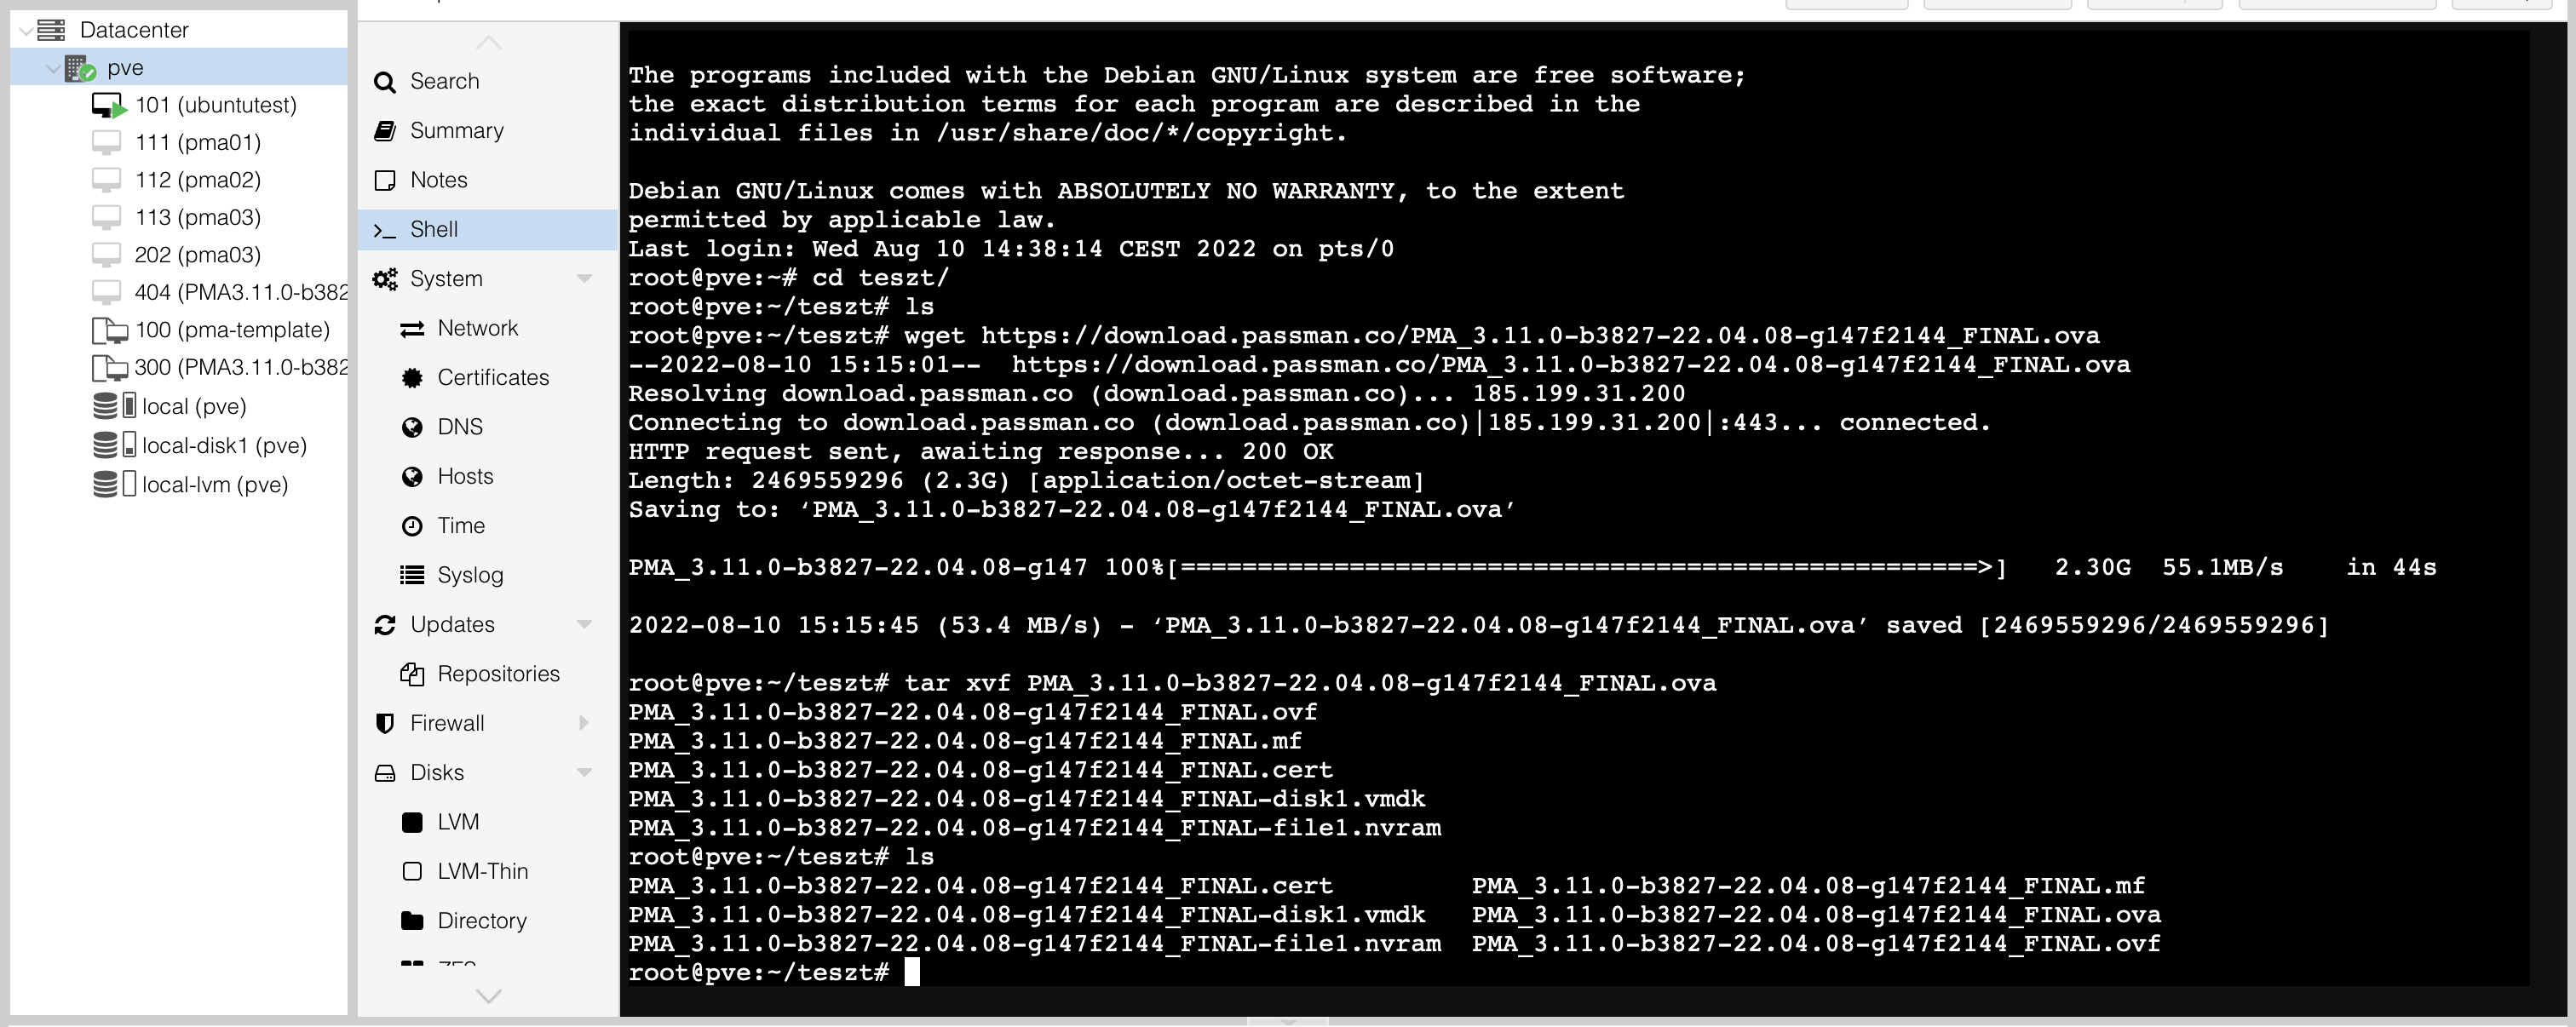
2. Log in to the Proxmox node via SSH and unpack the OVA file using the following command: tar xfv PMA_3.8.0-21.09.21-3097_FINAL.ova
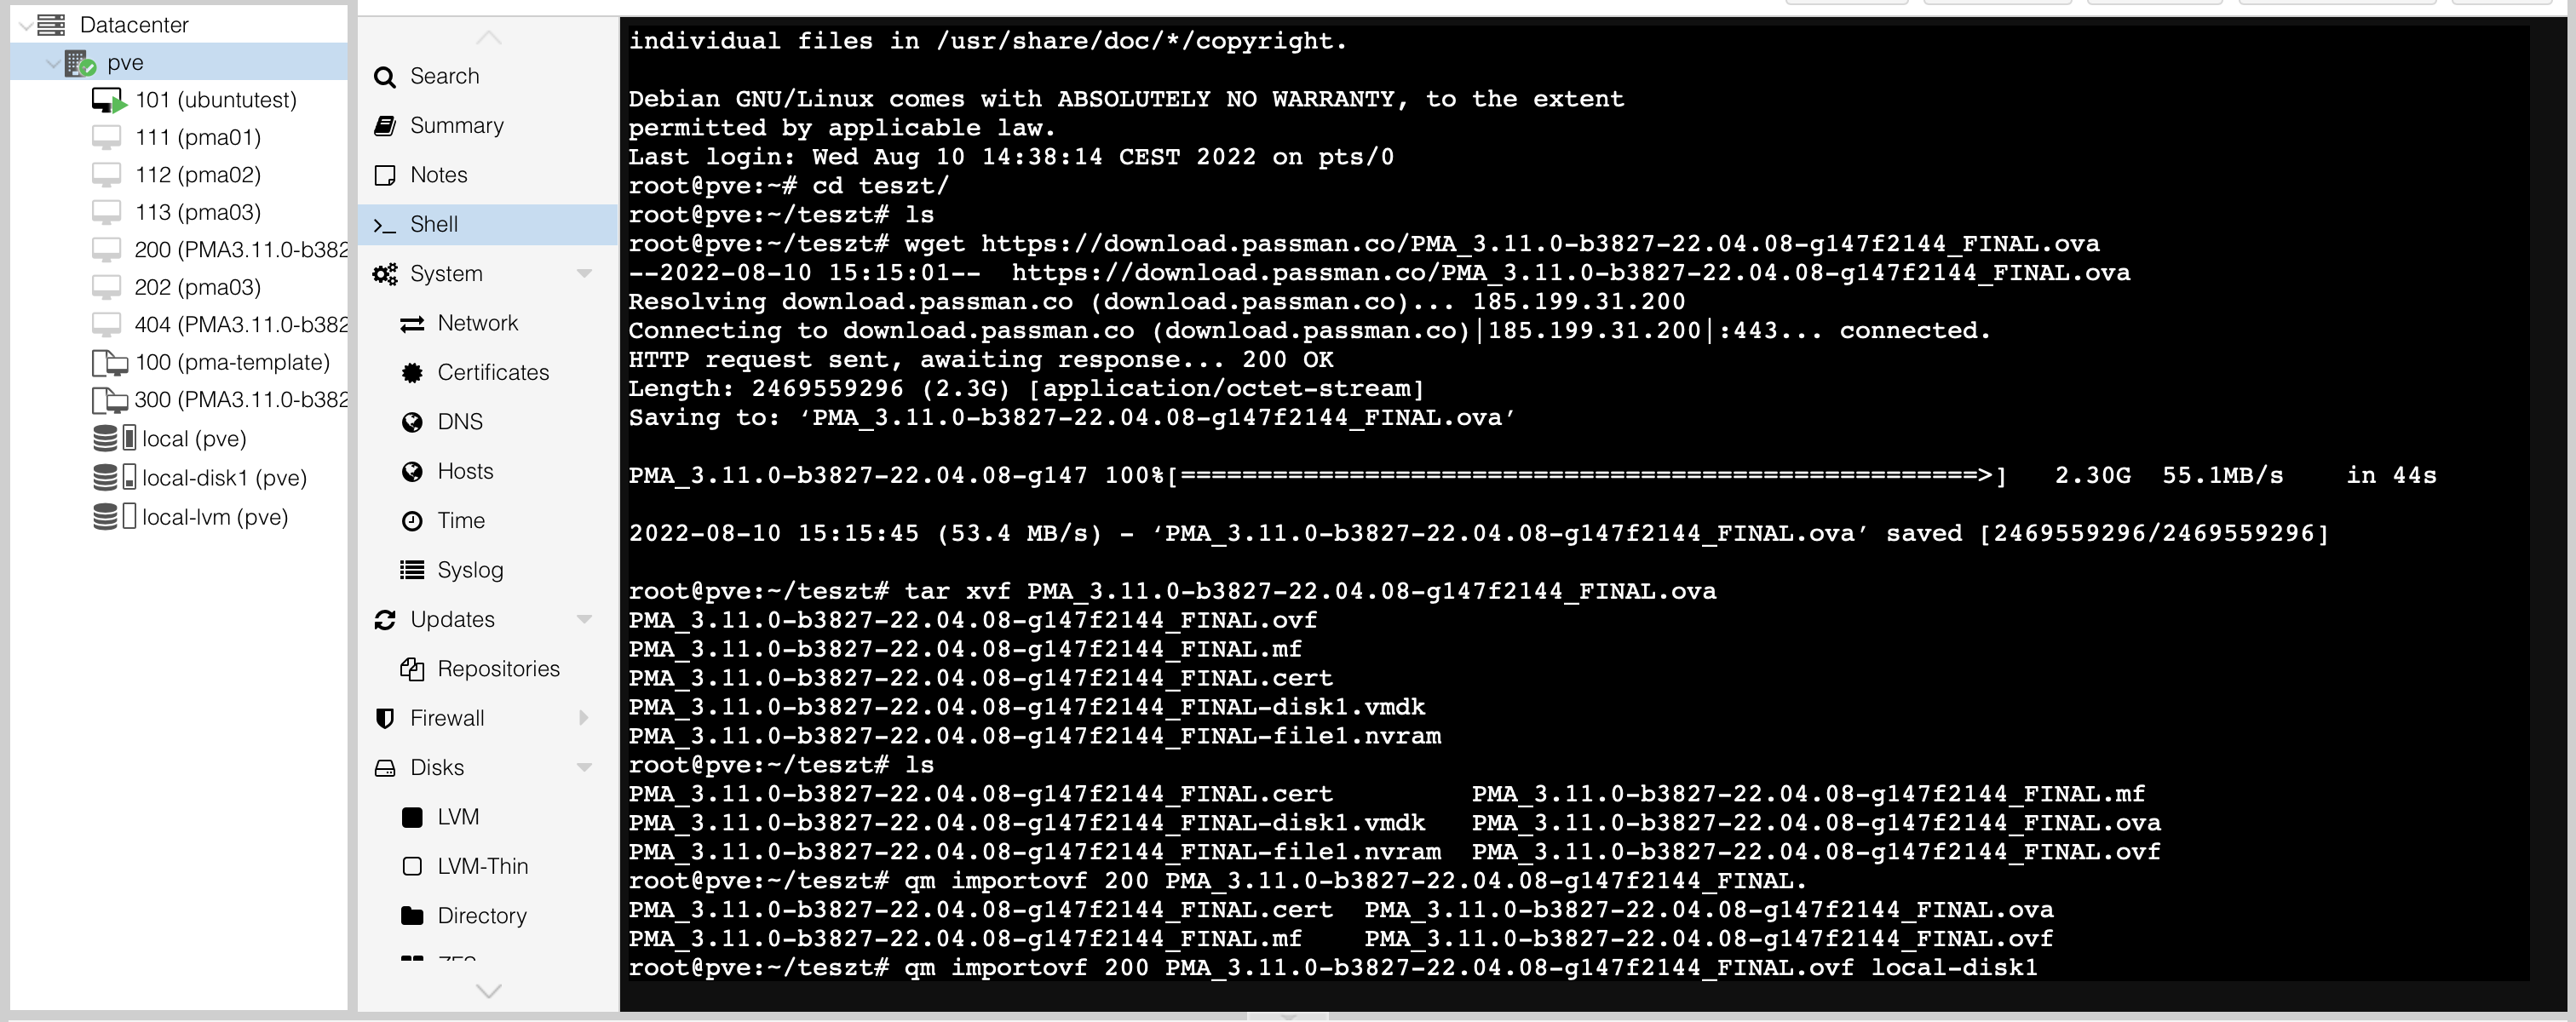
3. The next step is to create the first virtual machine where we will import the unpacked OVF file.
During the import, the disk image will be stored in the "local-disk1" disk store (specify according to local conditions), and you need to provide an unused VM ID during command application (e.g., 100).
Apply the following command: qm importovf 100 PMA_3.9.0-b3399-21.12.06-gcf75069d_FINAL.ovf local-disk1
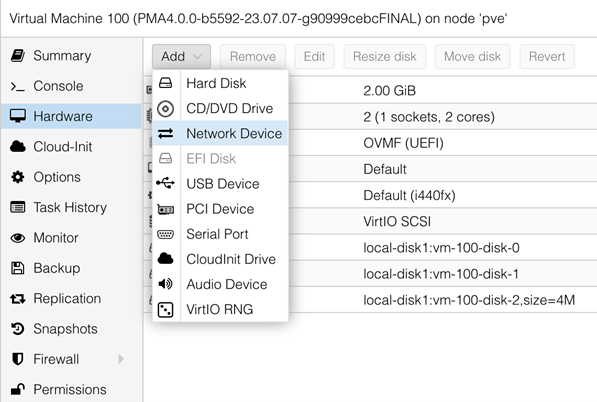
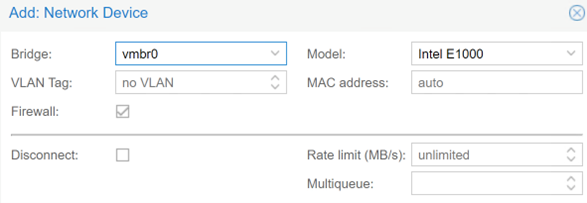
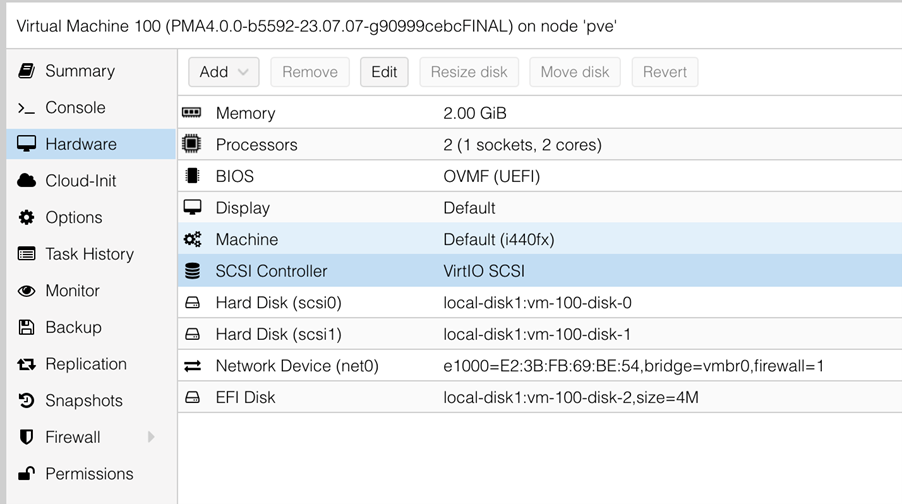
4. After a successful import, you need to configure a Network Interface for the virtual machine. In the Proxmox admin GUI, click on the virtual machine, and on the right side, under the Hardware tab, you can perform this configuration (192.168.206.220:8006).
In the following example, a bridge interface is added, which is an Intel E1000 model.
5. Change the BIOS to OVMF (UEFI) mode.
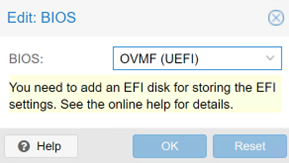
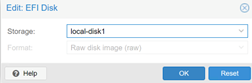
6. Add an EFI disk to the VM to enable it to start in secure boot mode.
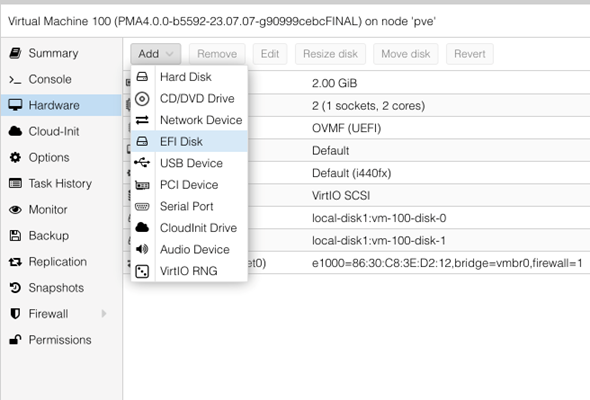
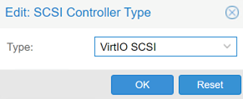
7. Configure the SCSI controller.
8. CPU with AVX Support
The VM's CPU must support AVX mode. If it doesn't, create a new virtual CPU model:
vi /etc/pve/virtual-guest/cpu-models.conf
cpu-model: passman-avx
flags +avx;+avx2;+xsave
phys-bits host
hidden 0
hv-vendor-id proxmox
reported-model kvm64
In the Hardware/Processors menu, select this virtual CPU.
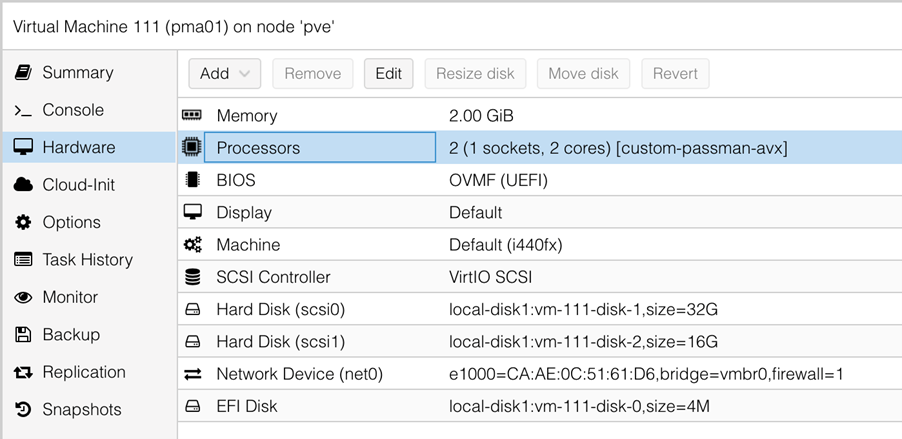
9. Configure and verify the virtual machine settings based on the following table.
The following values must be set:
- BIOS
- SCSI controller
- Network Device
- EFI Disk
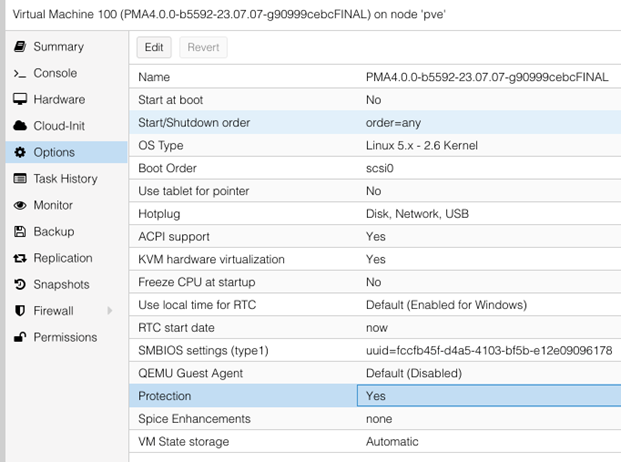
10. The following values must be set in the virtual machine options section:
- OS Type = Linux, 5.x - 2.6 Kernel
- Boot Order (disk – be set)
- Use tablet for pointer = no
- Protection = yes
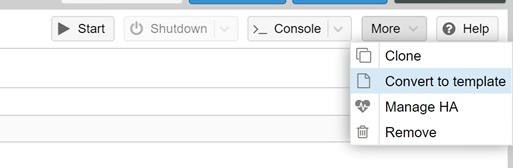
11. Convert the VM to a template (Options → More → Convert to template).
Creating Cluster Nodes
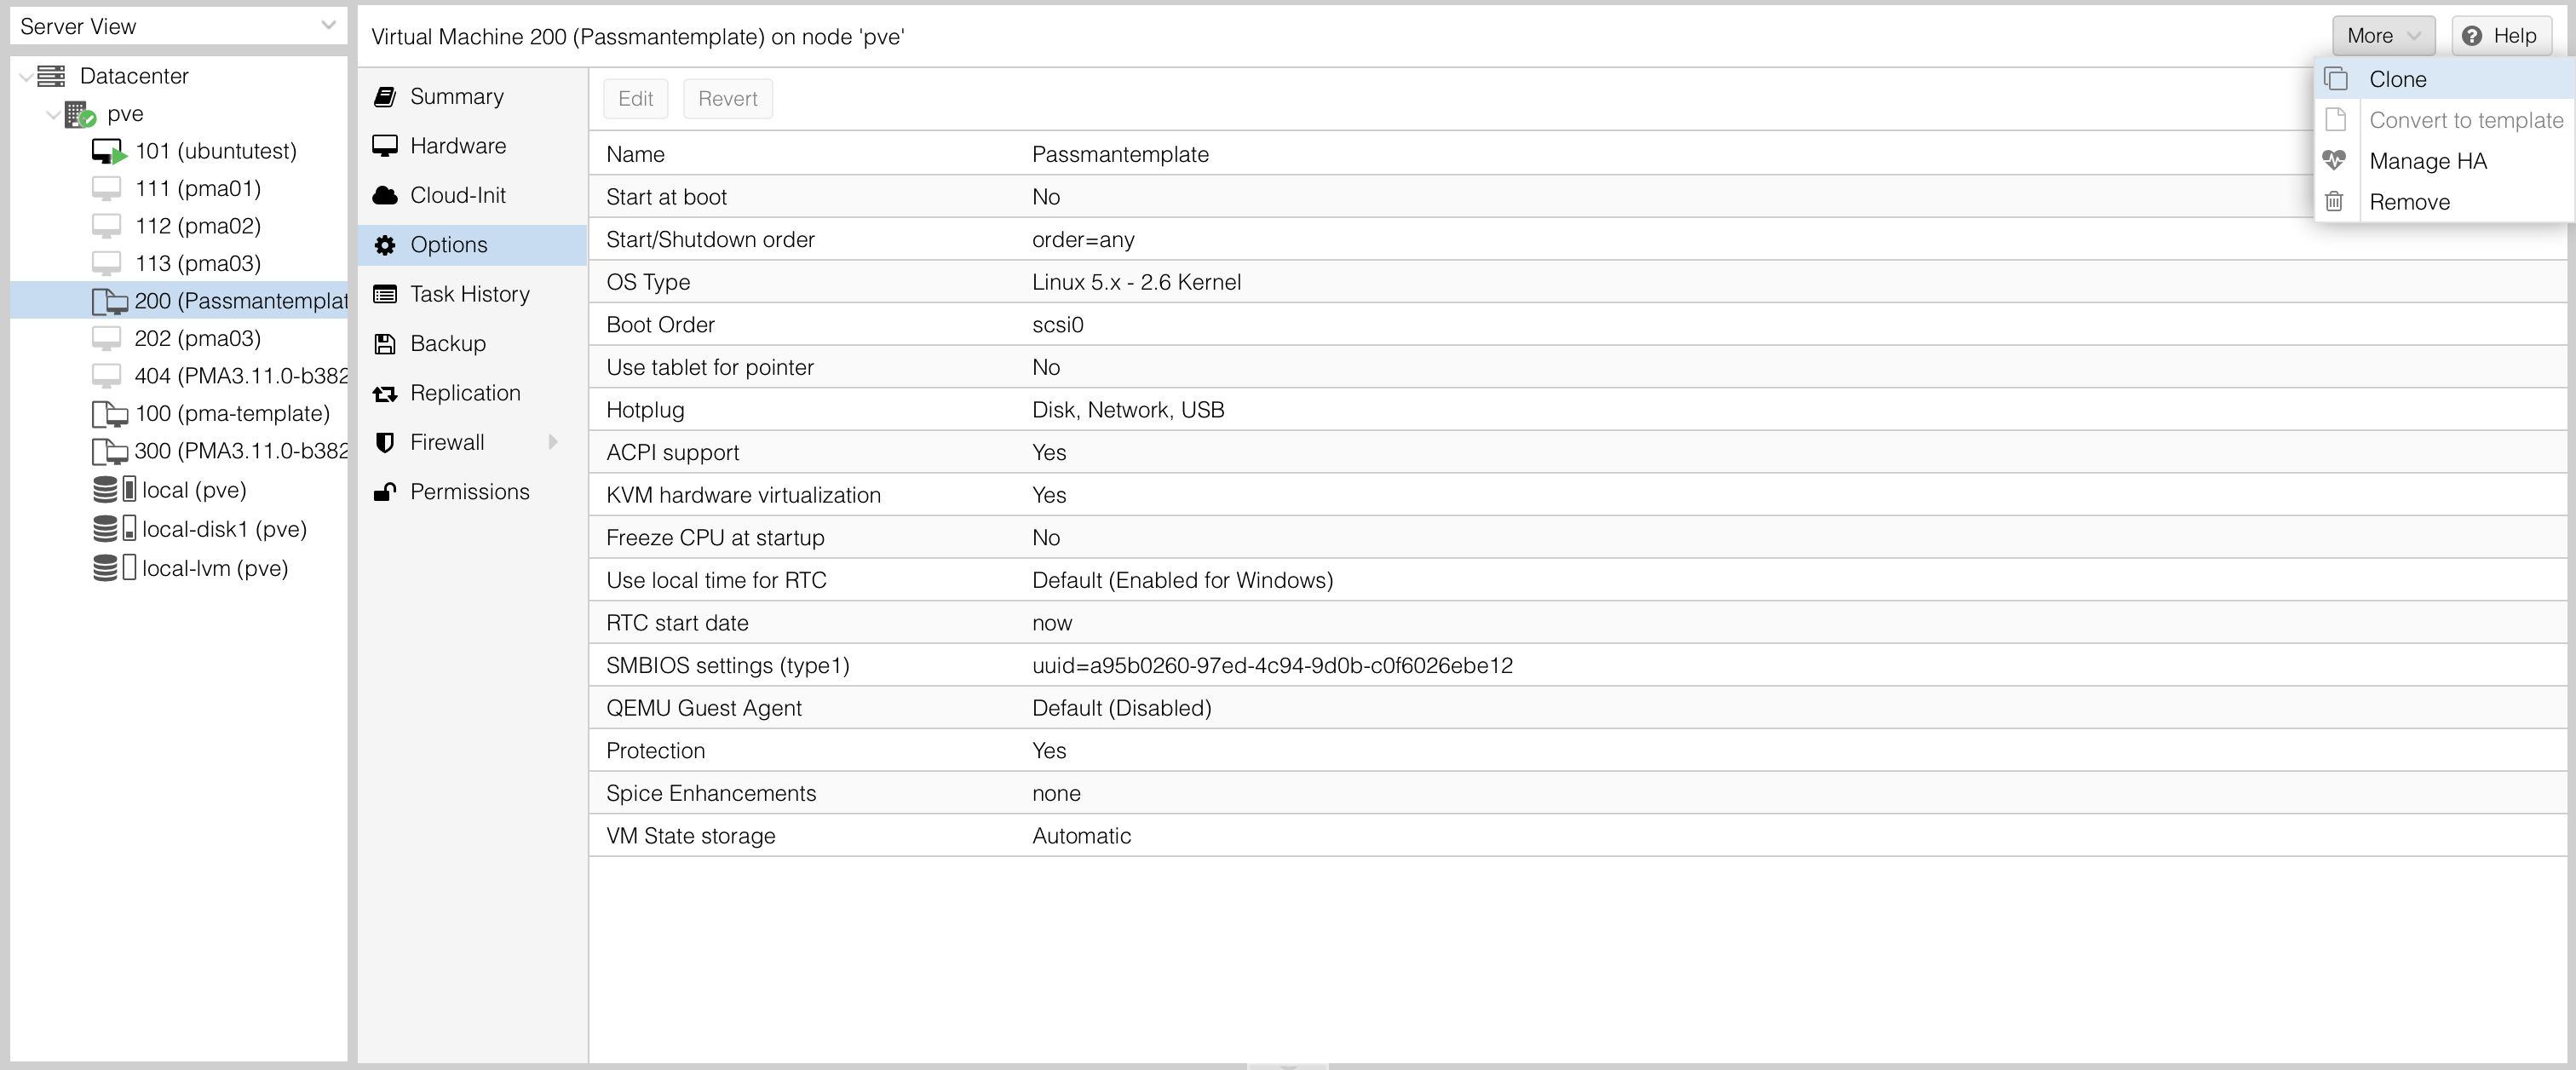
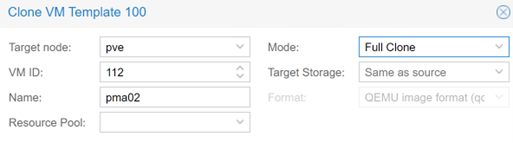
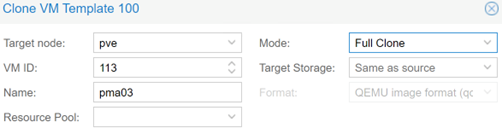
Using the newly created template, we will create 3 nodes using full clone mode (Options → More → Clone) .
1. Cloning the first cluster node from the installation template:
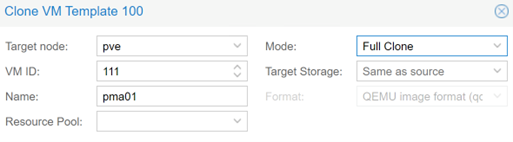
2. Cloning the second cluster node from the installation template:
3. Cloning the third cluster node from the installation template:
4. Verify the settings in the "Hardware" and "Options" tabs, ensuring they match the settings during template creation.
5. After booting the VMs, continue the installation via a web browser following the HA mode PassMan - base configuraton chapter if they received an IP address via DHCP.
If there is no DHCP service on the network, set the IP address for the machines through the console first.