Standalone PassMan - base configuration
1. Login to PADMIN - certificate error
Open the IP address of the PassMan machine, including the HTTPS:// prefix. (in our case: https://192.168.85.10/padmin)
Accept the certificate error:
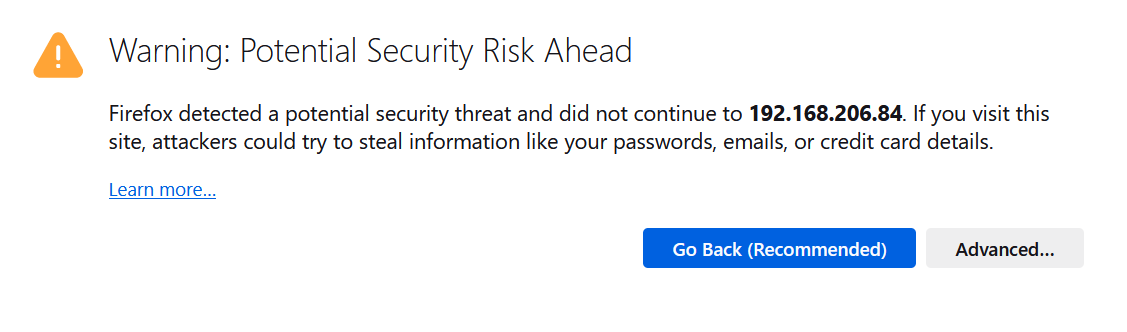
(Since there is no valid certificate issued for the given company yet uploaded to the system, we get this 'self-sign certificate error )
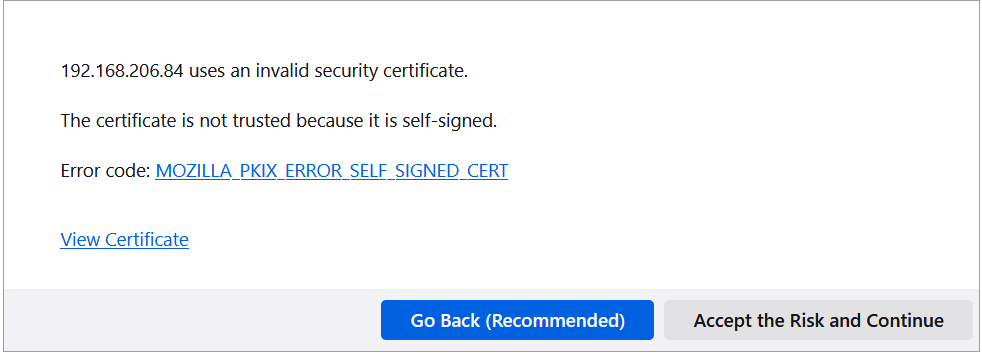
Here, select the 'Advanced' button and continue using the link displayed below:
2. Login to PADMIN
Let's log in with the default credentials. (in our case the URL: https://192.168.85.10/padmin) Username: manager, Password: Admin1234
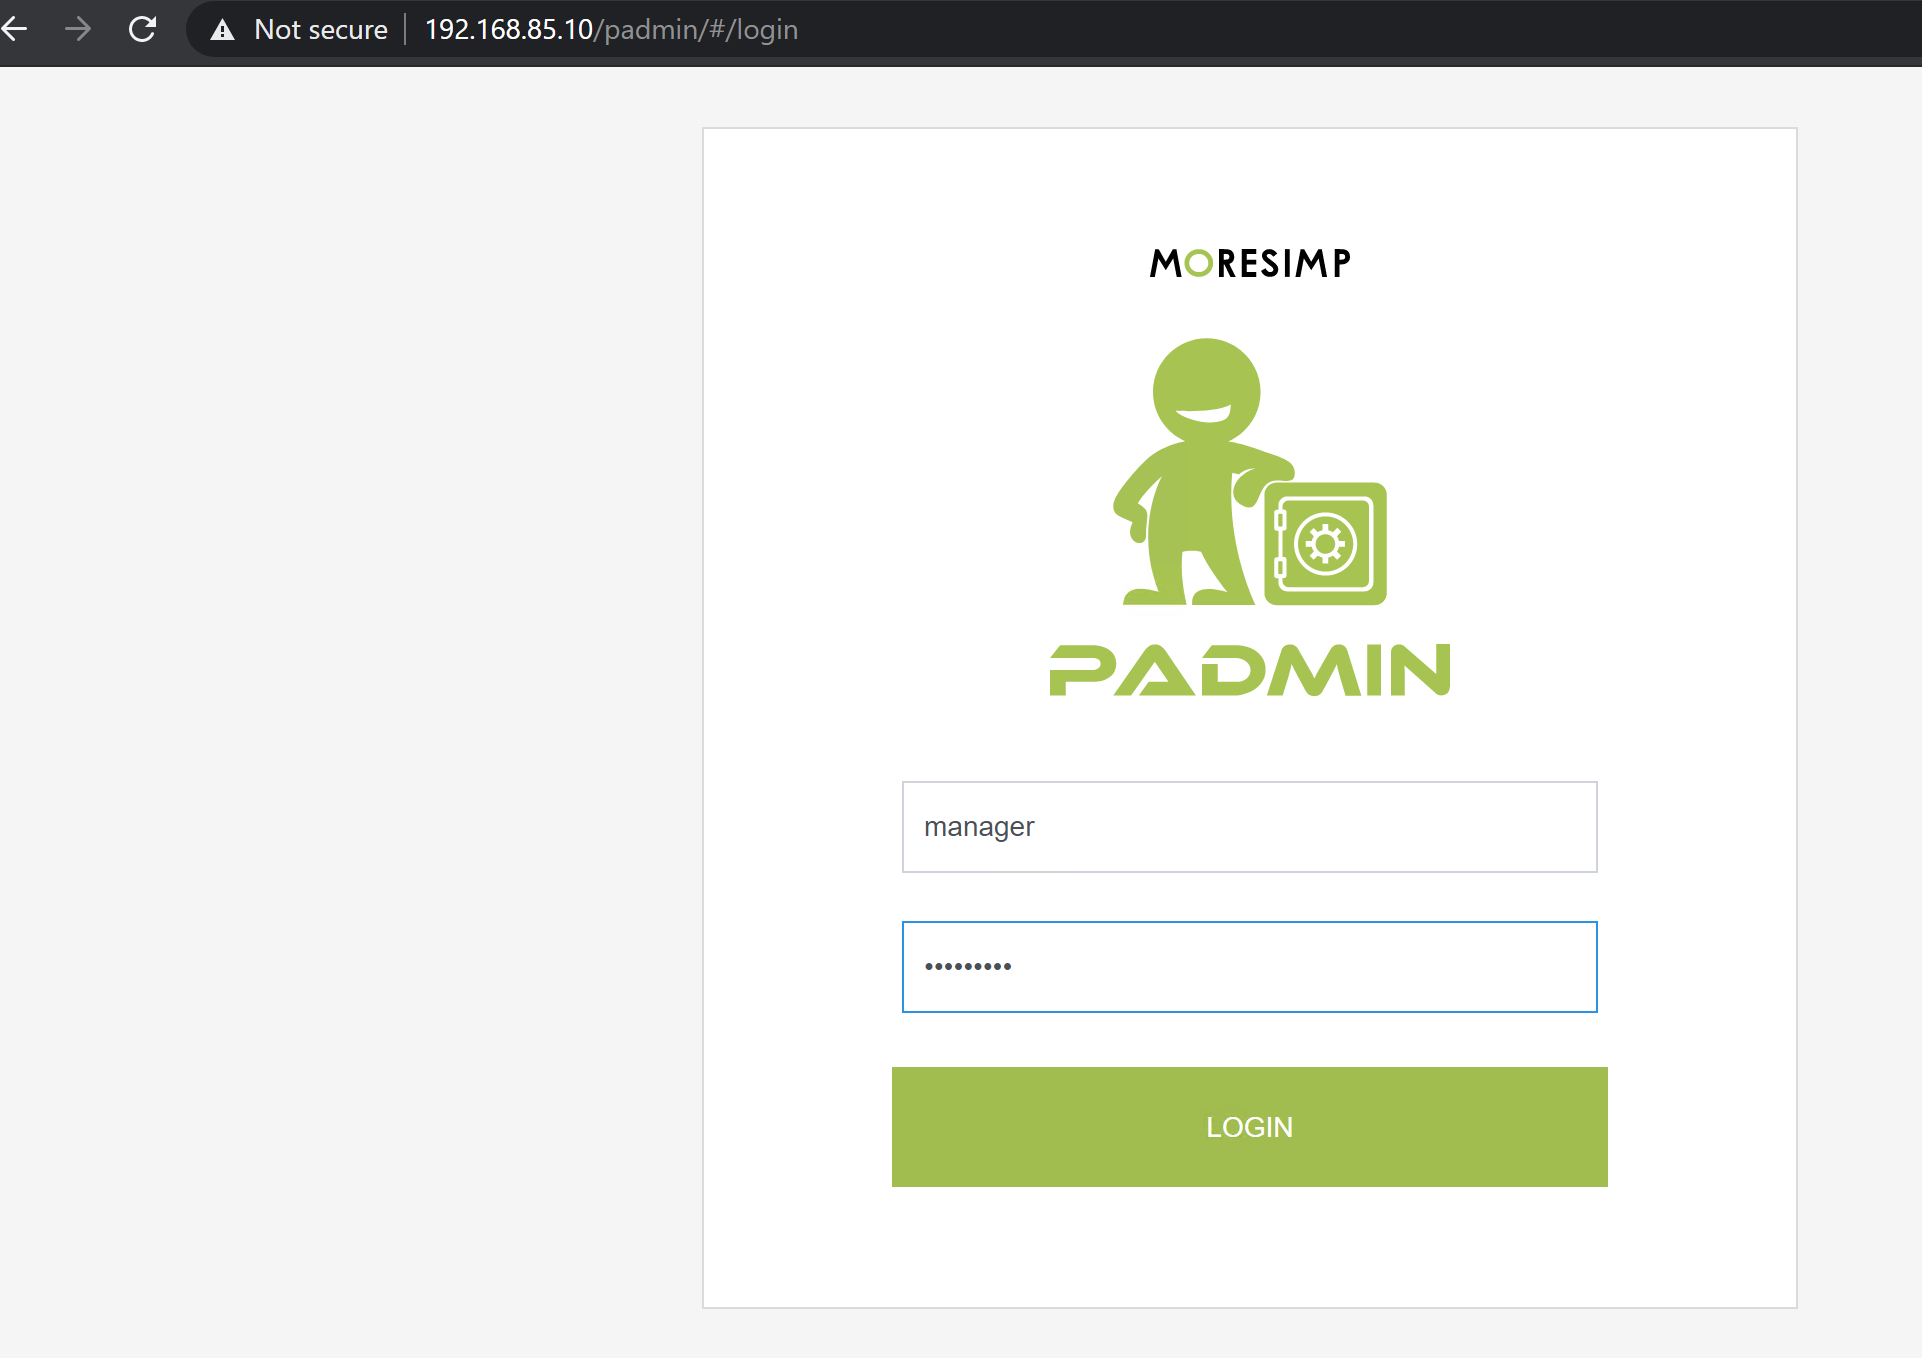
After logging in, we get to the installation interface. You can change the language by clicking on the top right menu.
After logging in for the first time, you should change your password, then go through the basic initialization process (in the correct order!)
3. Setting network parameters
Select the first 1. Network Addresses menu item, enter (or check) the desired parameters.
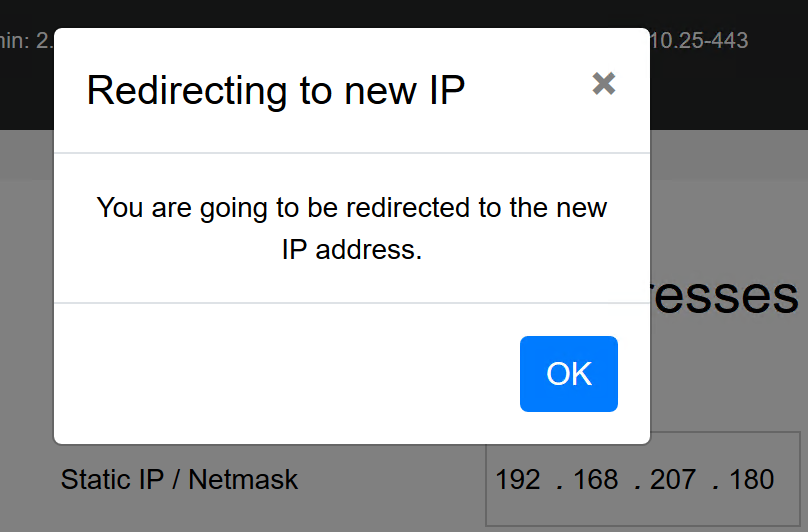
Finally, VERIFY and SAVE.
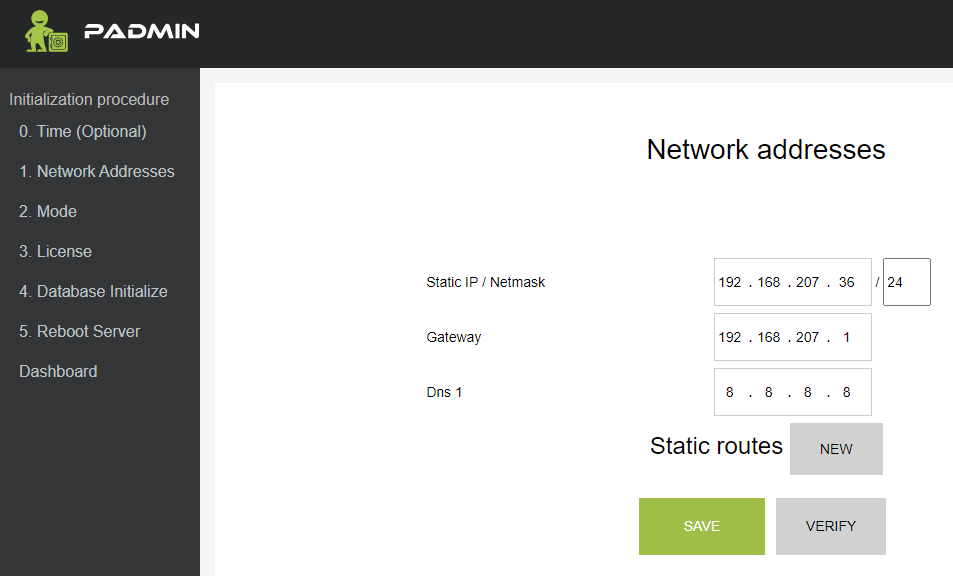
We approve the message about changing the IP address (if received).
4. Select installation method
Select the 'single', i.e. 'standalone' mode, then click the SAVE button!
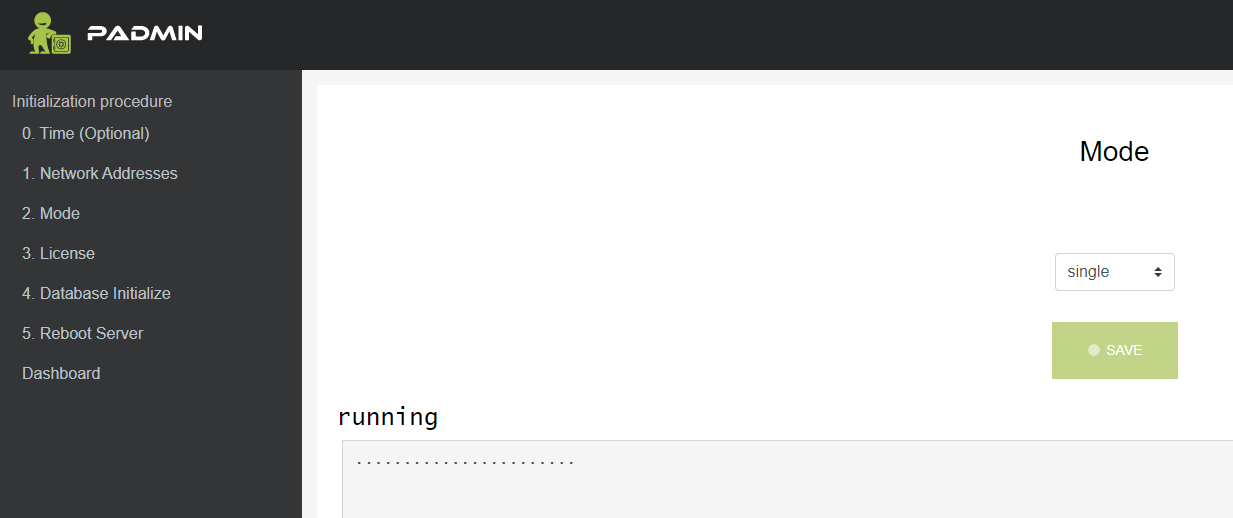
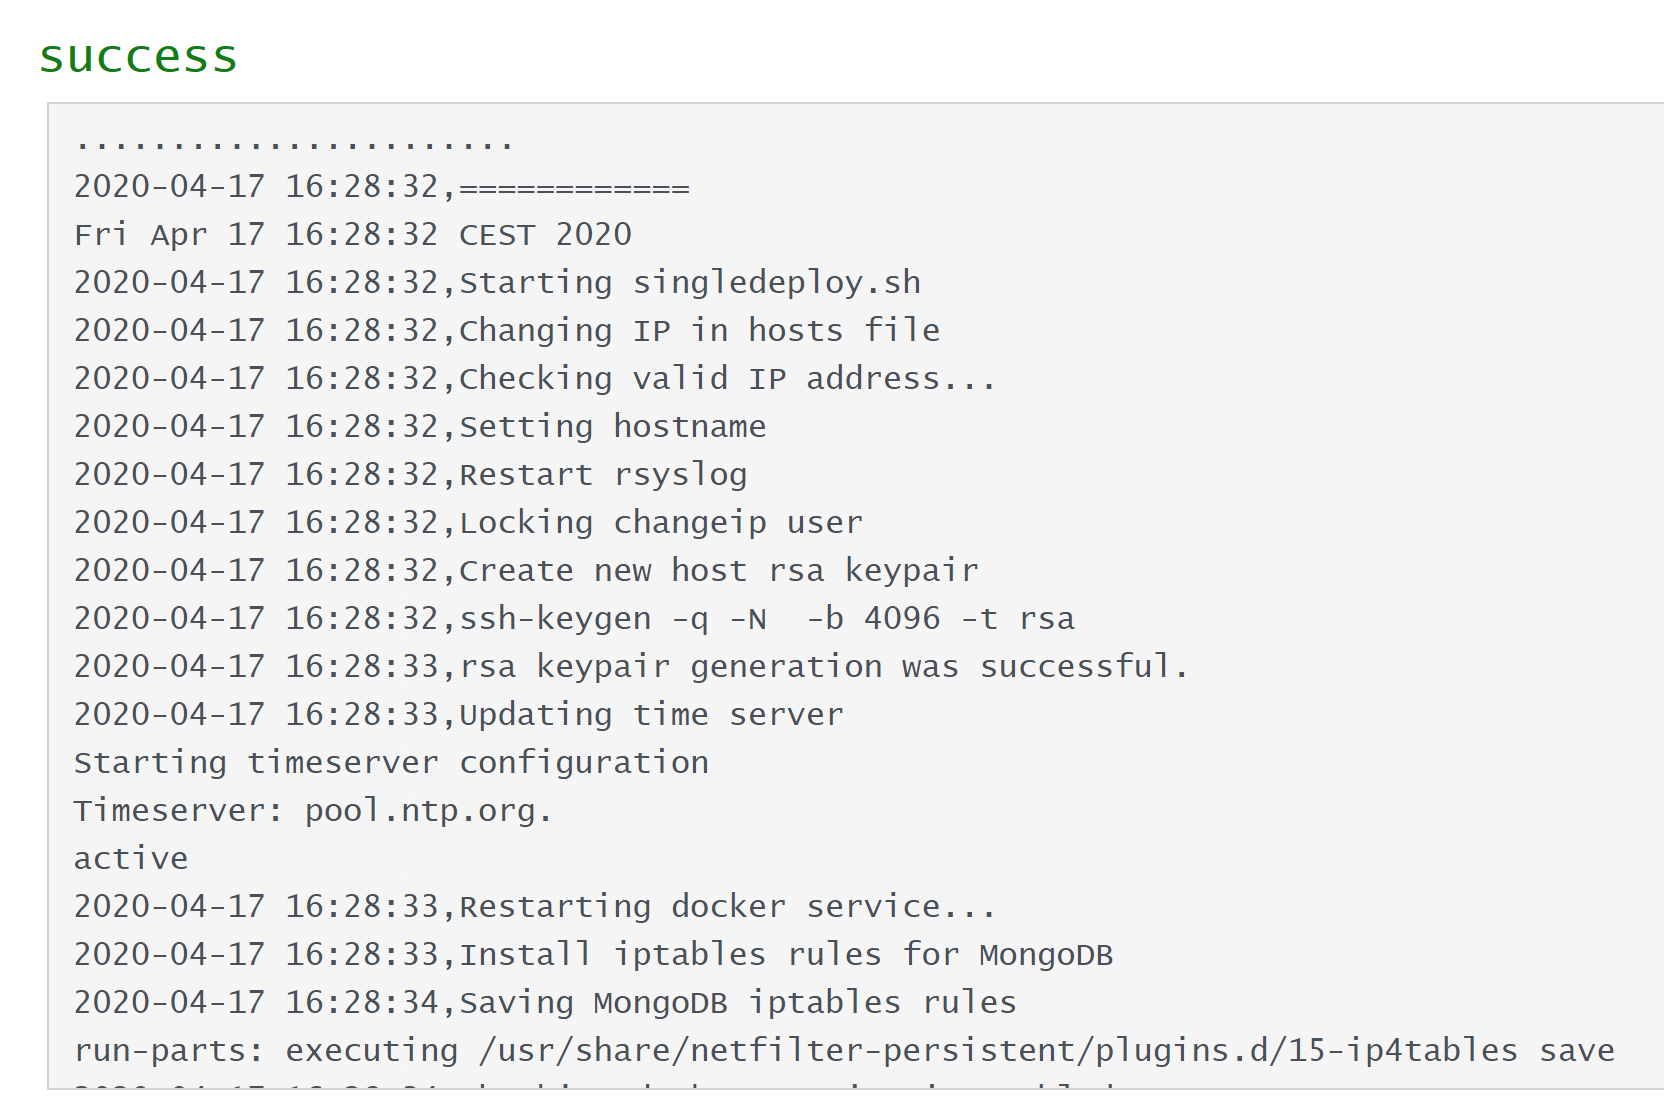
After that, the installation will take place (1-2 minutes), and a similar entry will be displayed on its success:
5. Specifying a license key
The License setting can be found under Maintenance/License in the left menu.
Enter the license key you received for PassMan:
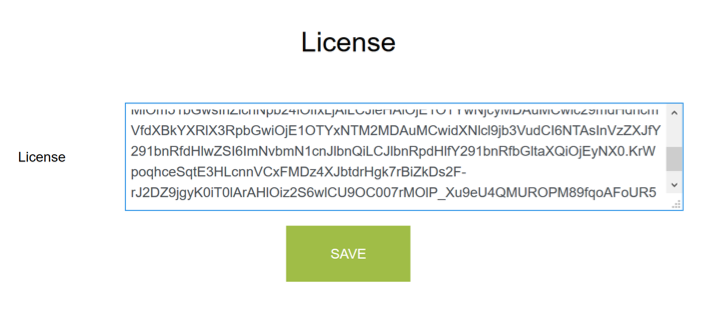
This key is required to create the Database in the next step.
SAVE, then wait for the message confirming success.
6. Create an encrypted database
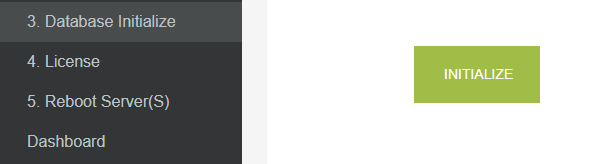
In the menu on the left, choose the 3. Database Initialize menu item.
Here we can choose whether to request identifiers generated by the system or to define them ourselves.
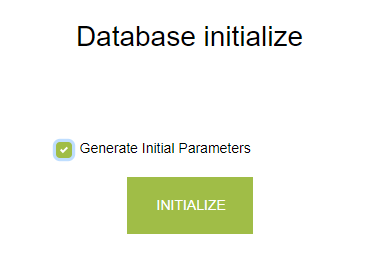
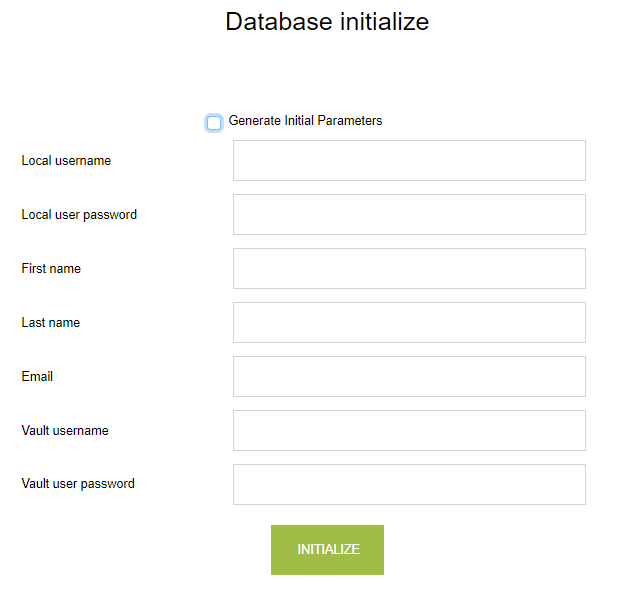
After setting, go to the 'INITIALIZE' button.
Once the operation is completed, the system will show (reply) the passwords required for entry (one time!)
(Example: Initial vault user: 'initial' with password: 'QwL70a8VBqUNVN4ozKNO7@o4MIZNvXDs').
This password encrypts PassMan's database and then creates a user called admin to log into PassMan.
(Example: Initial local user: "admin" with password "tBf5O9JmUSGcXnTA")
.
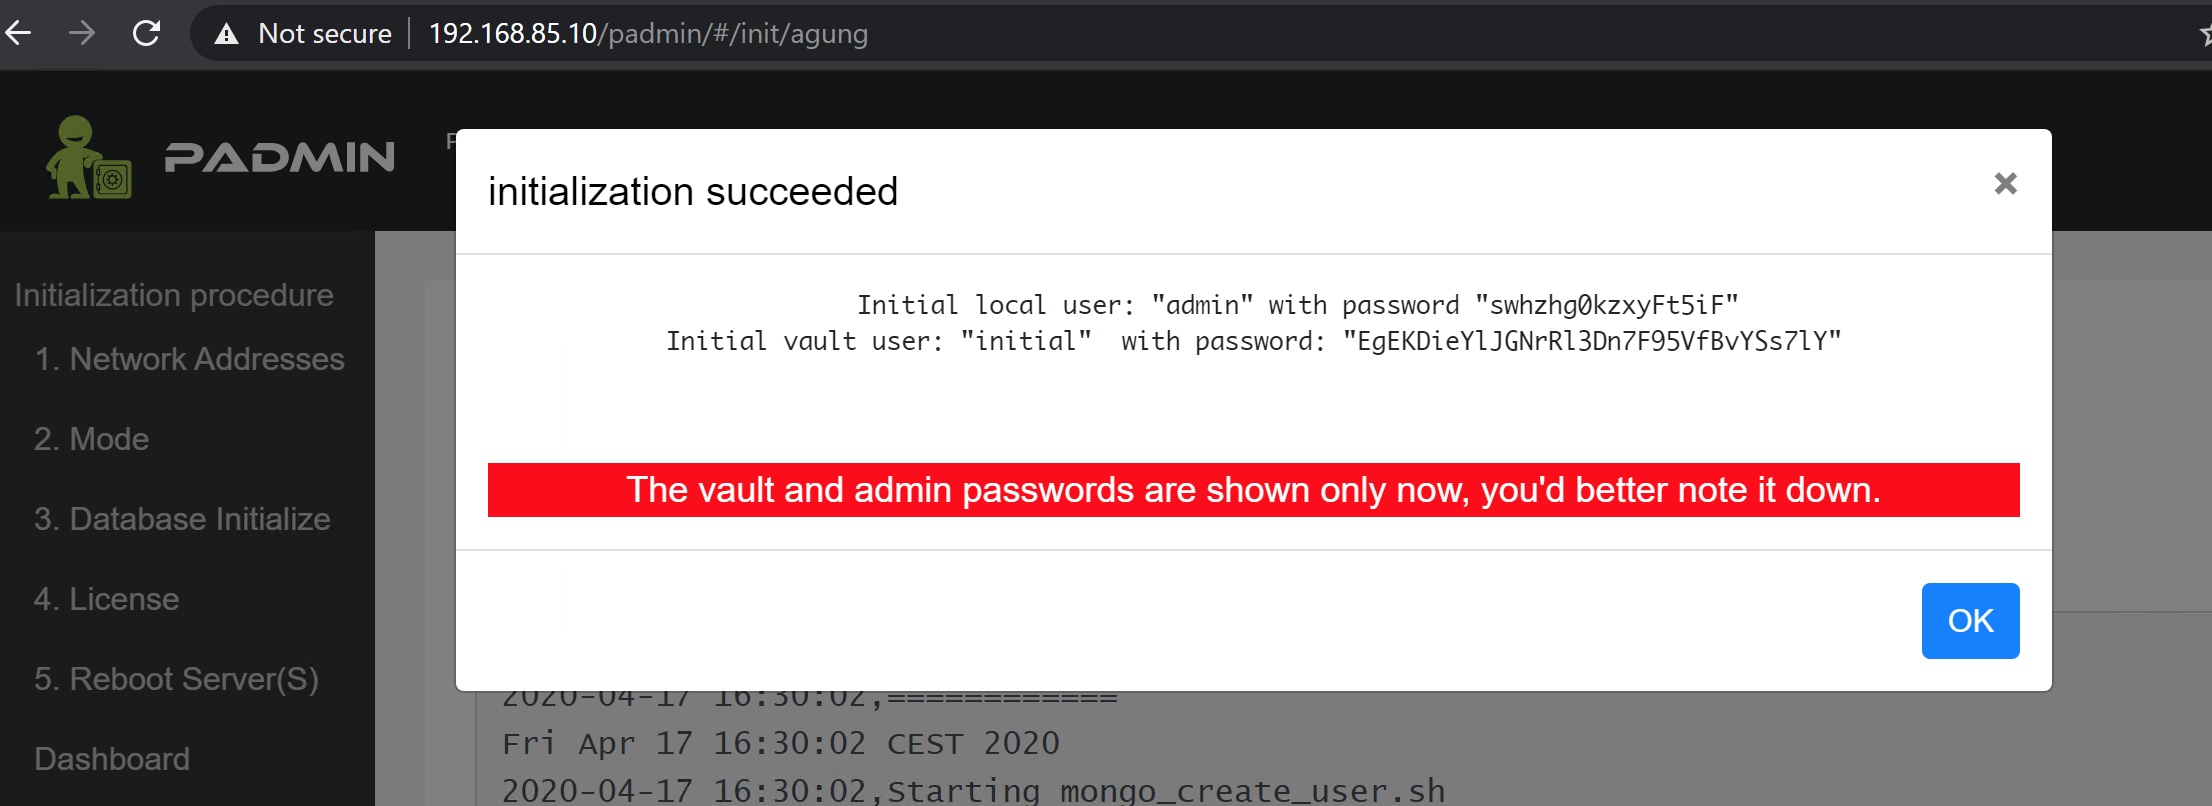
Important!
please write down and store this data in a safe place!
The system does not save the identifiers displayed here!
Without access IDs, the system cannot be started and PassMan MUST BE INSTALLED AGAIN from the initial state, because the created encrypted database becomes inaccessible!
In the event that these data are lost during the trip: the data stored by PassMan becomes inaccessible due to the encryption method used!
Recommendation: We can copy these keys with the 'copy to clipboard' option, so we can save them in a file and store them in a safe place.
Summary of passwords generated during installation
We have 3 username/password pairs. The values generated by the system are indicated below. If we entered them manually, we use them!
PassManURL/padmin: Login to padmin with manager user and password Admin1234
PassManURL: Login to PassMan with the admin user and the password written on the screen
Safe opening: initial user and the long line of code (this must always be entered after restarting PassMan)
7. System Restart
We are done with the basic settings of PassMan: so Padmin's interface will switch from installation mode to the operator menu system.
To do this, restart the system:
In case of success, you will see a message like this:

By pressing the OK button, the page will be updated (if it is not updated, let's update it ourselves).
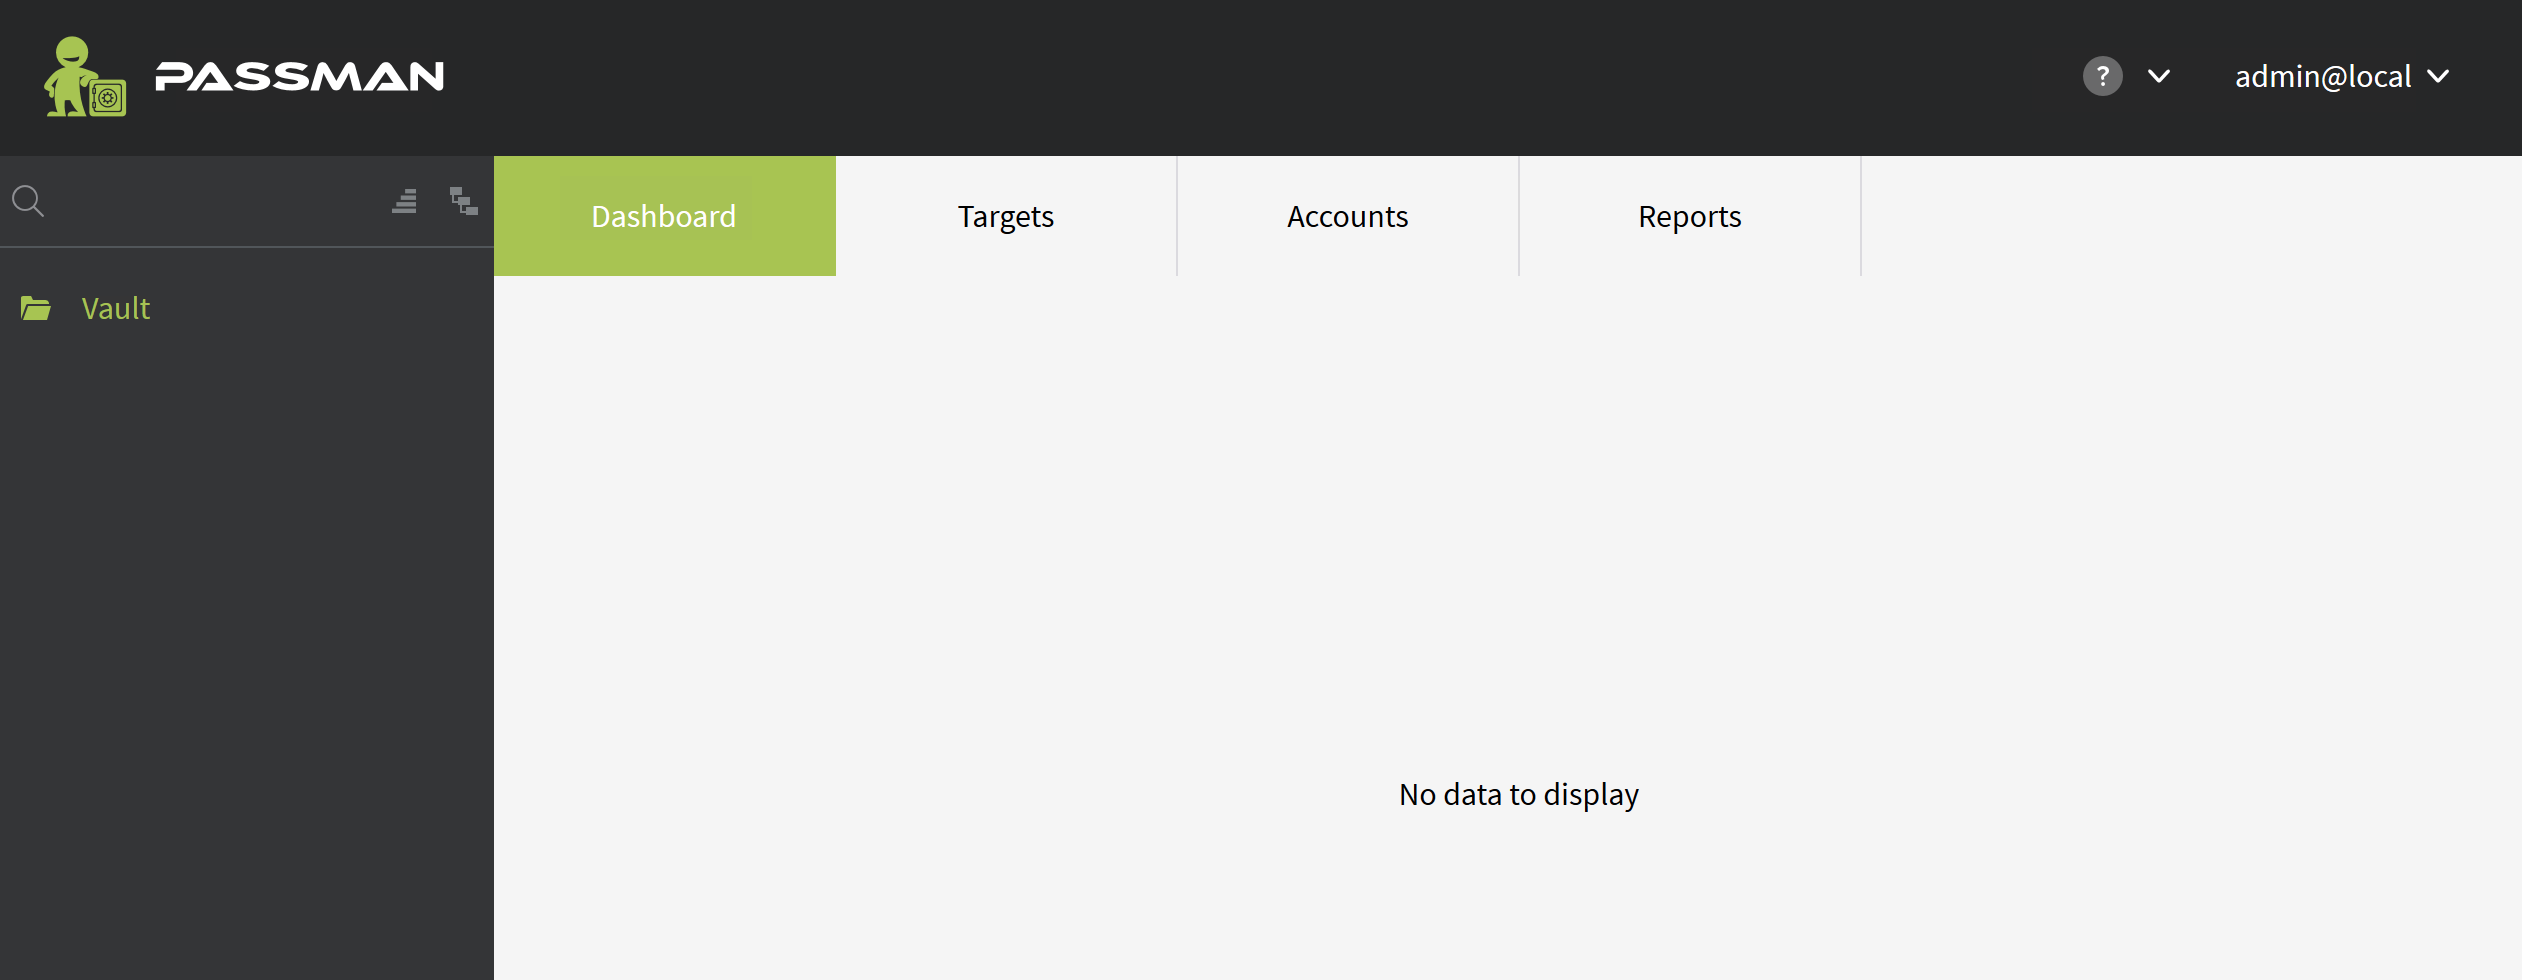
We should now see an expanded menu list on the left.
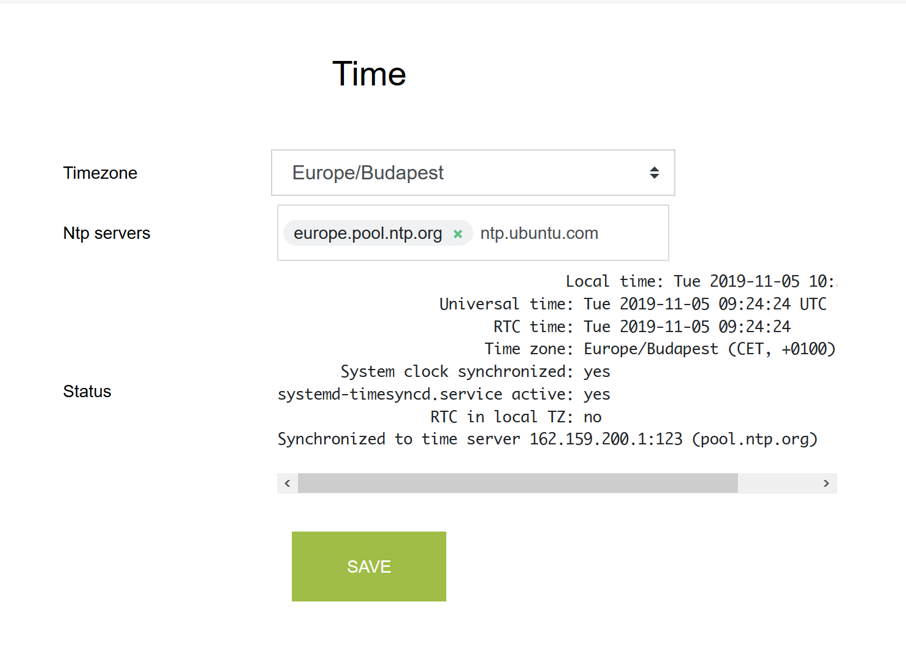
8. NTP Service setting
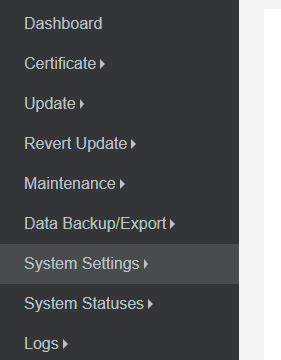
In Padmin, select the menu item System Settings/ Time and NTP servers,
then enter your time zone (usually: Europe/Budapest)
Fill in the desired NTP servers as well. Unwanted ones can be deleted with an 'x'.
After this (and during similar operations later too) we will encounter a message like this:
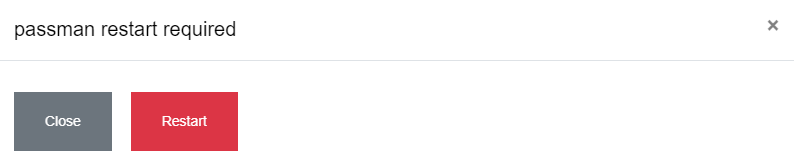
All we have to do is enable the restart with the Restart button.
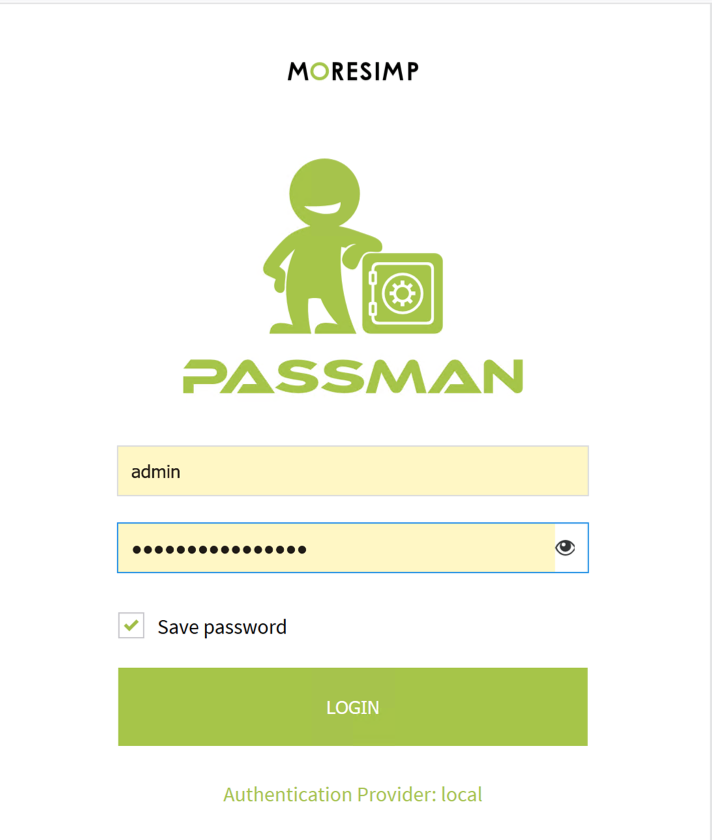
9. Login to Passman
Let's enter PassMan. (example: https://192.168.85.10), where we can enter with the previously shown (and recorded) identifiers.
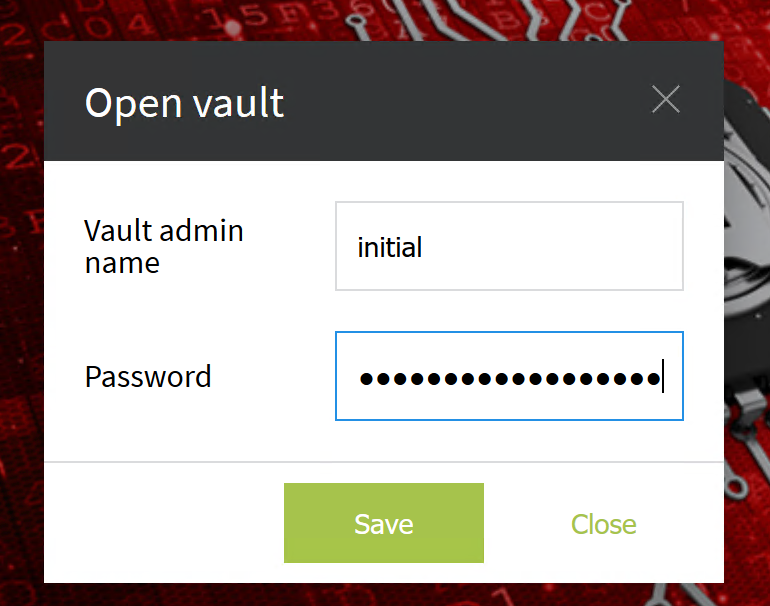
Important!
After each system start (restart), the Safe must be opened! The data stored here cannot be accessed if the safe is closed!
Tipp
After entering, it is worth picking up an additional Safe Key, which can also be used to open the virtual lock. We recommend keeping the original Safe ID pair in a safe in case of an emergency!
A safe can only be opened by the user who, in addition to knowing the identifiers, has also been granted authorization for this operation.
After entering, we are greeted by the red background below, indicating that the safe is still locked.
Click on the image and open the virtual vault with the corresponding (second) pair of identifications.
This completes the basic system installation and basic configuration. Now you can use PassMan, you can start recording secrets.
To import passwords, add a new user, give full rights on the Safe structure, because the initial (superadmin) user cannot import.
If we want to change the system settings (e.g. AD authentication), we can do this in PADMIN:
for example: setting up an external 'syslog' server, configuring a time/NTP server, specifying an email server, stopping / restarting components, querying status information, data backup, system update.
Tipp
It is recommended to change the password the first time you log in. This can be done in the upper right corner of the screen: under the Manager menu item.