Manage Local groups
PassMan allows you to create various user groups to which users can be assigned as needed.
Permissions can be configured uniformly for these groups, eliminating the need to set permissions individually for each user. Simply assign users to the appropriate group,
and then apply the required access settings to the group (you can read more about this HERE).
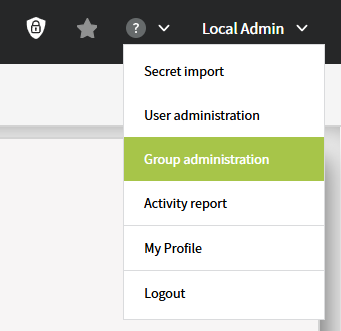
First, create a new group under the 'Group administration' menu in the top right corner:
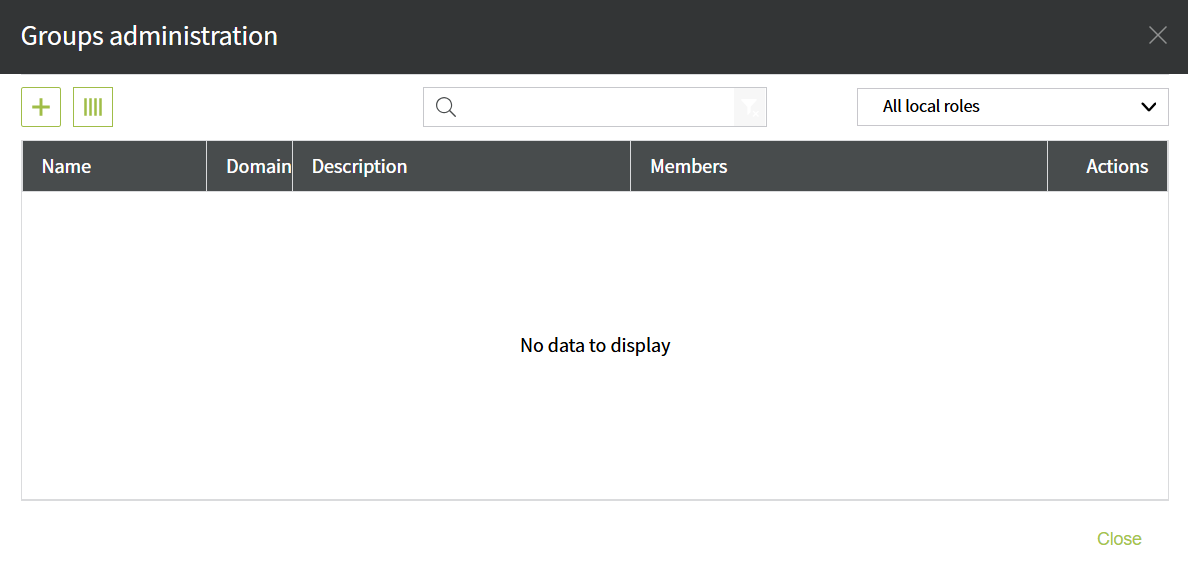
Initially, your list will be empty. You can create a new group by clicking the '+' button located at the top left:
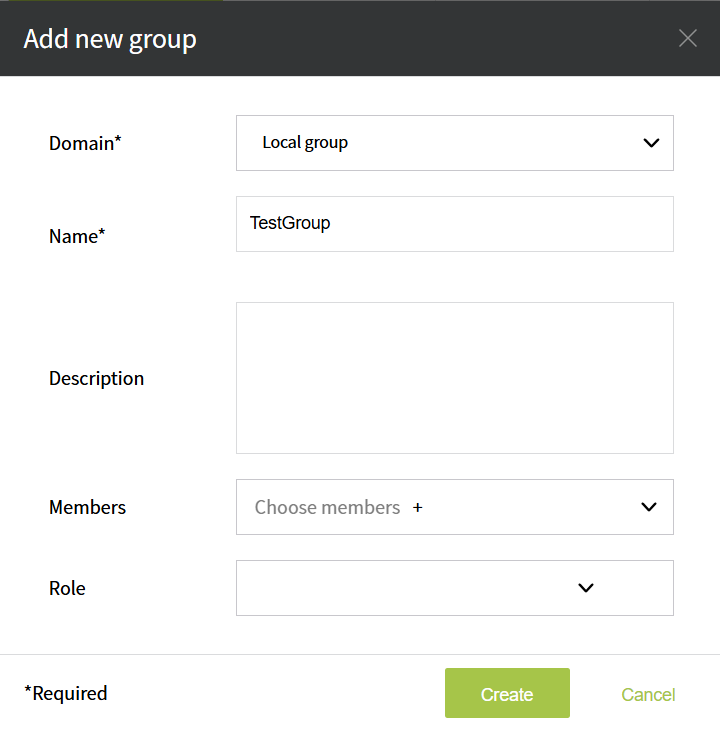
Fill in the group name (mandatory field), and optionally, you can add a description.
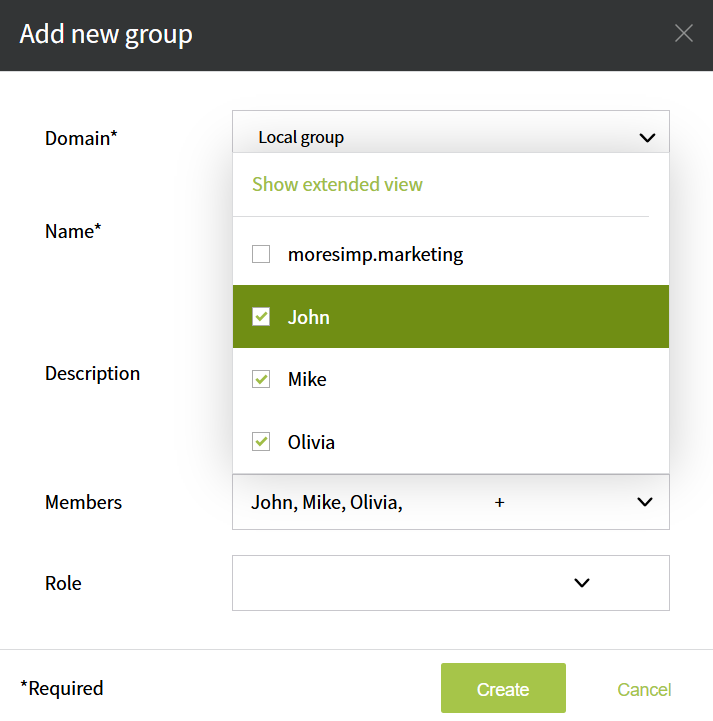
Afterward, you can assign members to the group using the dropdown list ('arrow') or the search bar with auto-complete functionality.
Click the plus icon next to 'Choose members' and add the required users to the group, then click the 'Create' button.
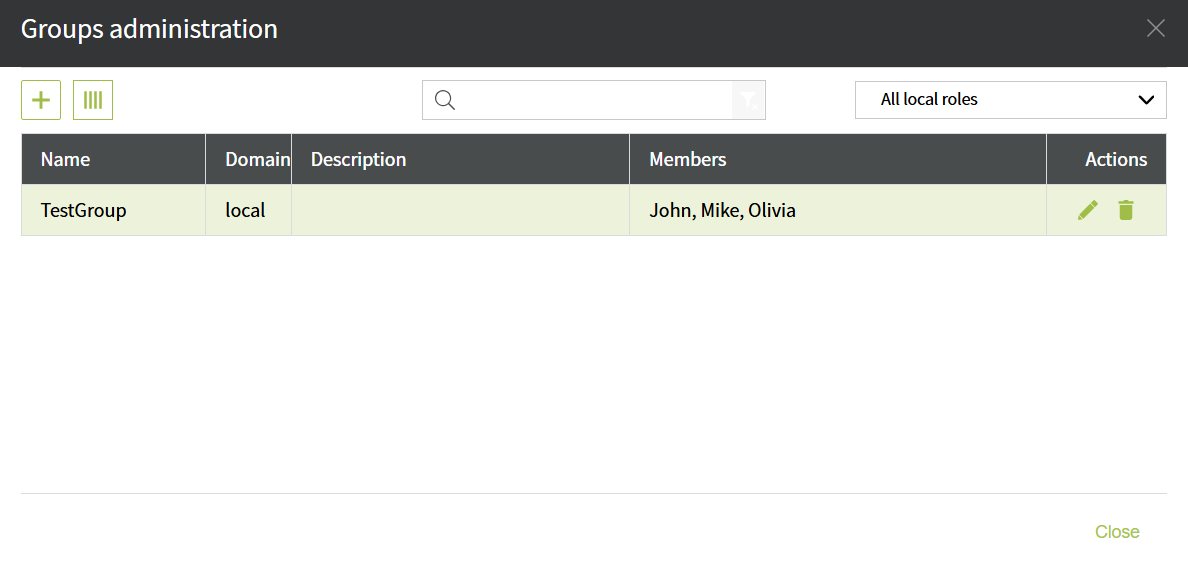
Your new group has now been created with the selected members, and it will be displayed in the summarized view of the feature.
By clicking the pencil icon, you can edit the members later if needed. Alternatively, you can choose to create an empty group first, and after saving it, add members to it.
In the 'Members' field, the options shown earlier work in the edit view as well. You can rely on the small downward arrow for the list, but you can also type in any search term.
The dropdown list will once again offer the expanded view, showing which groups a specific user is already a member of.
(In the summary view of this function, we see the opposite: which groups have which members.)
This feature allows us to easily add multiple members to a group and edit them—meaning we can add or remove them from the group.
If we want to assign a particular user to multiple groups, this is demonstrated in the previous 'Local User Administration' section.

