VCenter - PassMan import
1. PassMan Image import - directly to V.Center
- Download the latest 'main image' version, available from this page (the file is about 2GB)
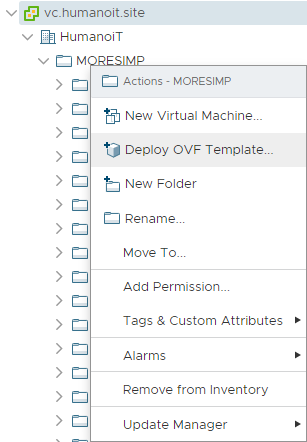
- In V.Center, select the folder where you want to import:
- Right click: Deploy OVF Template, then upload the file itself:
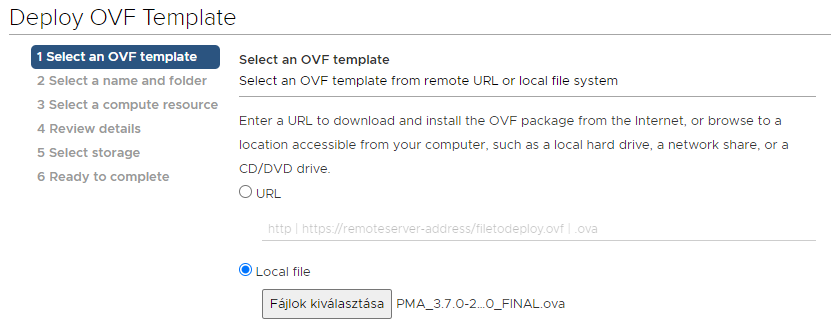
The Next button will be activated as clickable
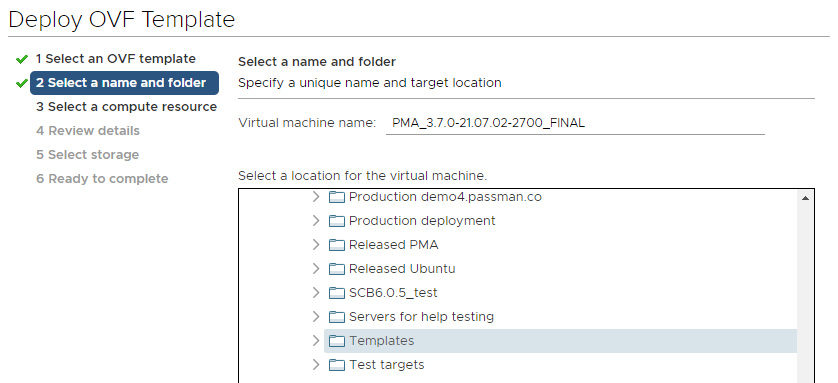
4. Select a destination folder and change the offered hostname - if you wish:
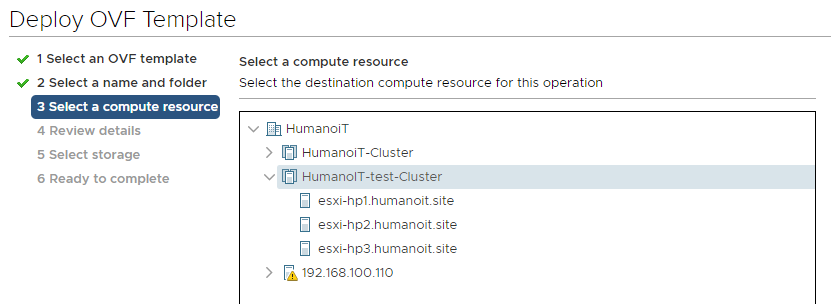
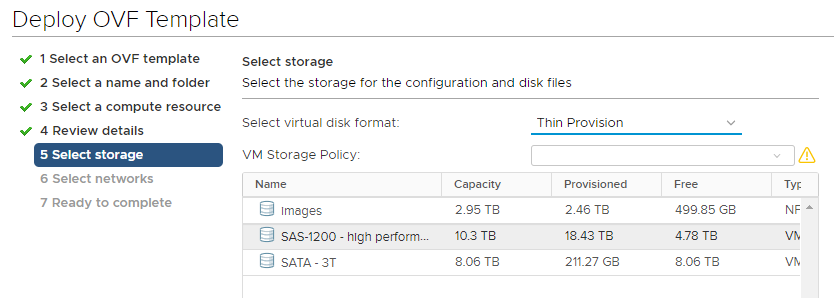
5. Choose a storage server where your virtual machine should be stored soon:
5. There's nothing to do with thee review details window: you can just simply go ahead.
6. Then make to install the machine in Thin Provision mode. There are multiple thin editions, but we prefer the default one.
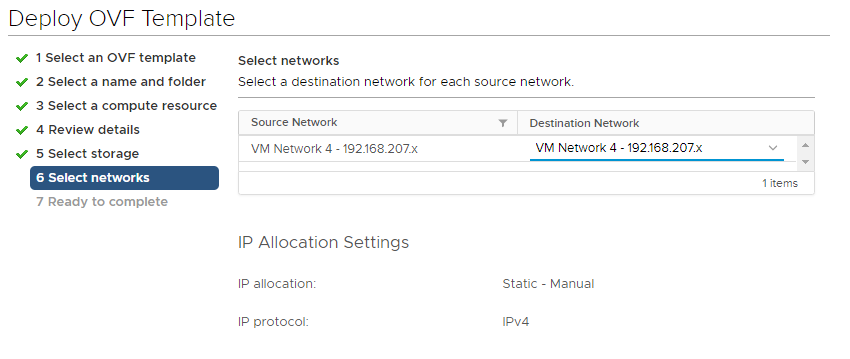
7. Unser Network setting, make sure that the machine is on a network where there is free IP address to be assigned.
8. After the import (about 10 minutes). Turn on the machine. Use the right mouse button:
Power / Power On. After this (after about 1 minute) a green triangle will appear next to the icon.
![]()
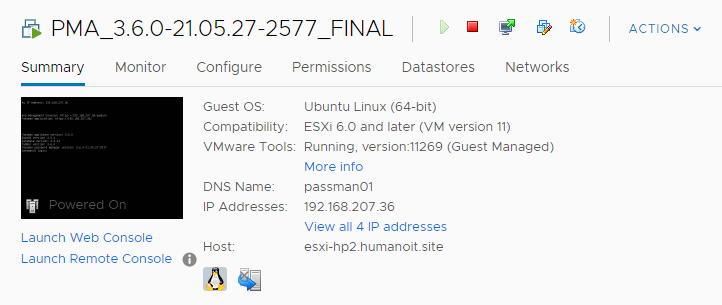
9. After power on, V.Center will display the IP address of the VM on the right side of the small screen:
2. Setting IP address by DHCP
- In the VMware environment, the IP address (assigned by the DHCP server to the imported and/or cloned PassMan machine) can be determined in two ways
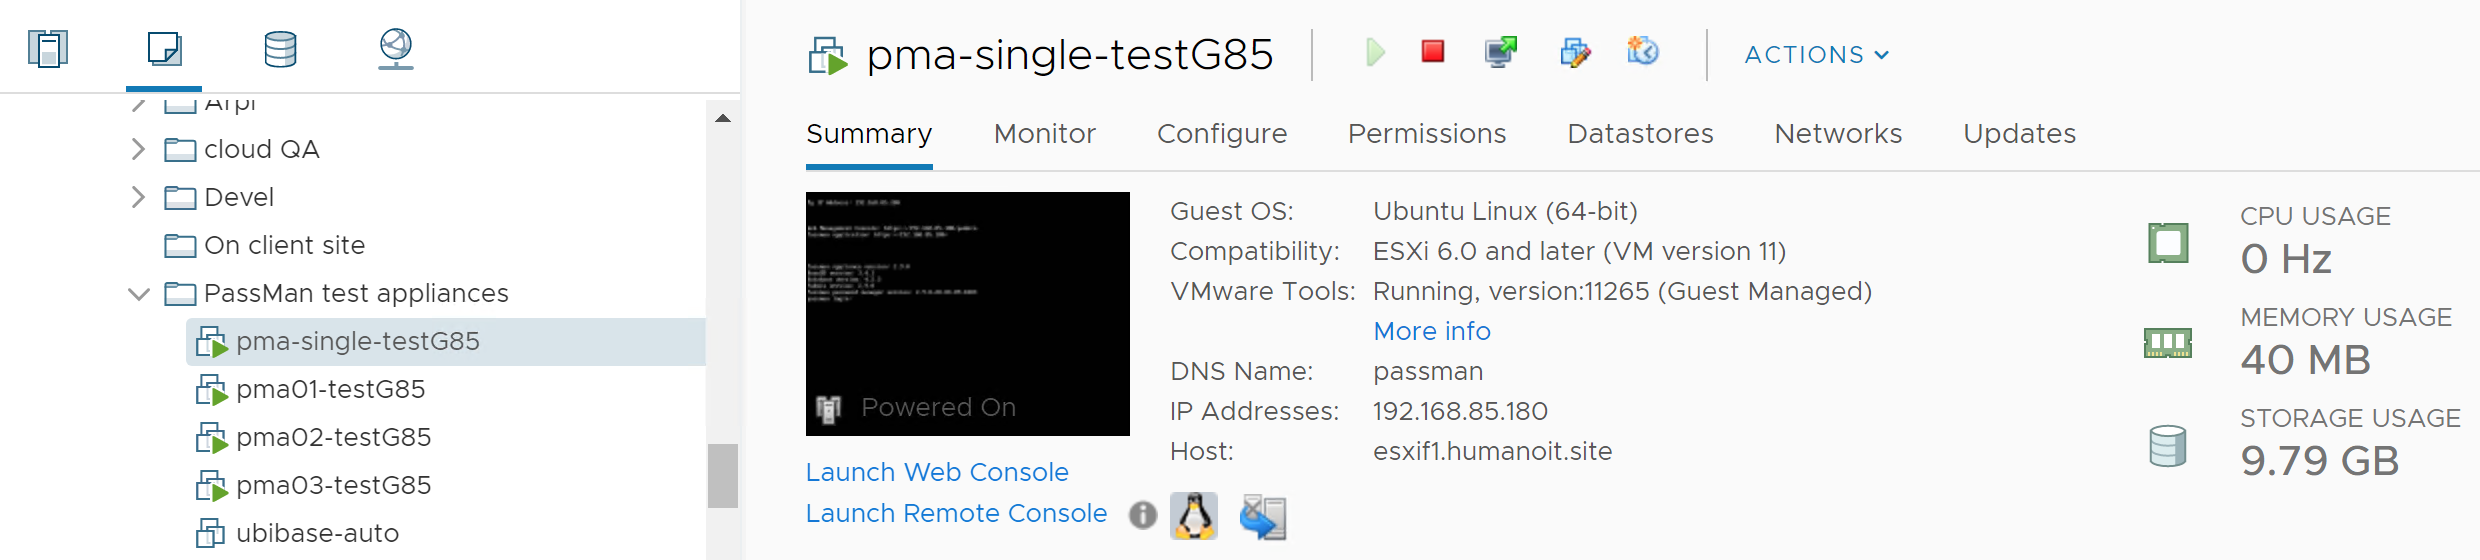
- With VMware tools we can see the current IP address next to the small screen view.
- Start the machine with the triangle icon
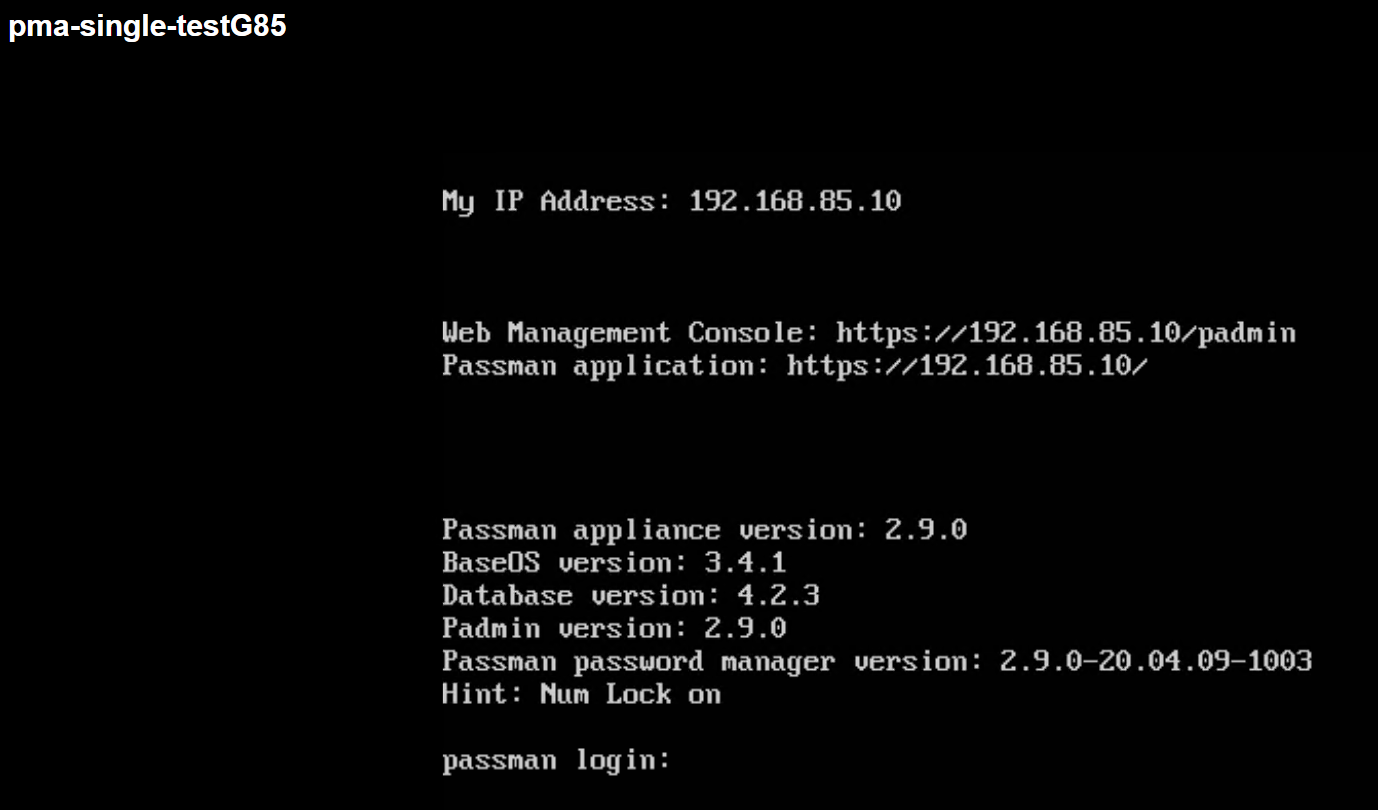
- After opening the Web Console (Launch Web Console) you can see your IP address (at My IP Address) :
- With VMware tools we can see the current IP address next to the small screen view.

- If no IP address by DHCP: the IP address is not shown at the top
- In this case, we need to enter an IP address as detailed in the next chapter
- Check, that the IP address you have just received is not occupied by other VM on the network! If the IP is already used, set a new one!
3. Specify / change IP address
- Log in with the user changeip (password: changeip)
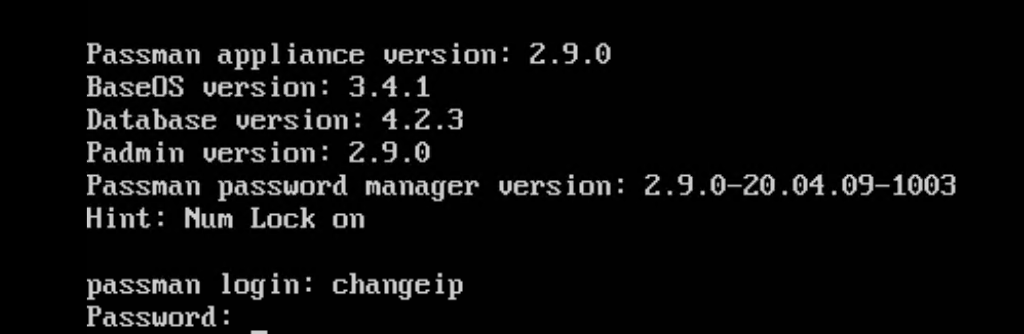
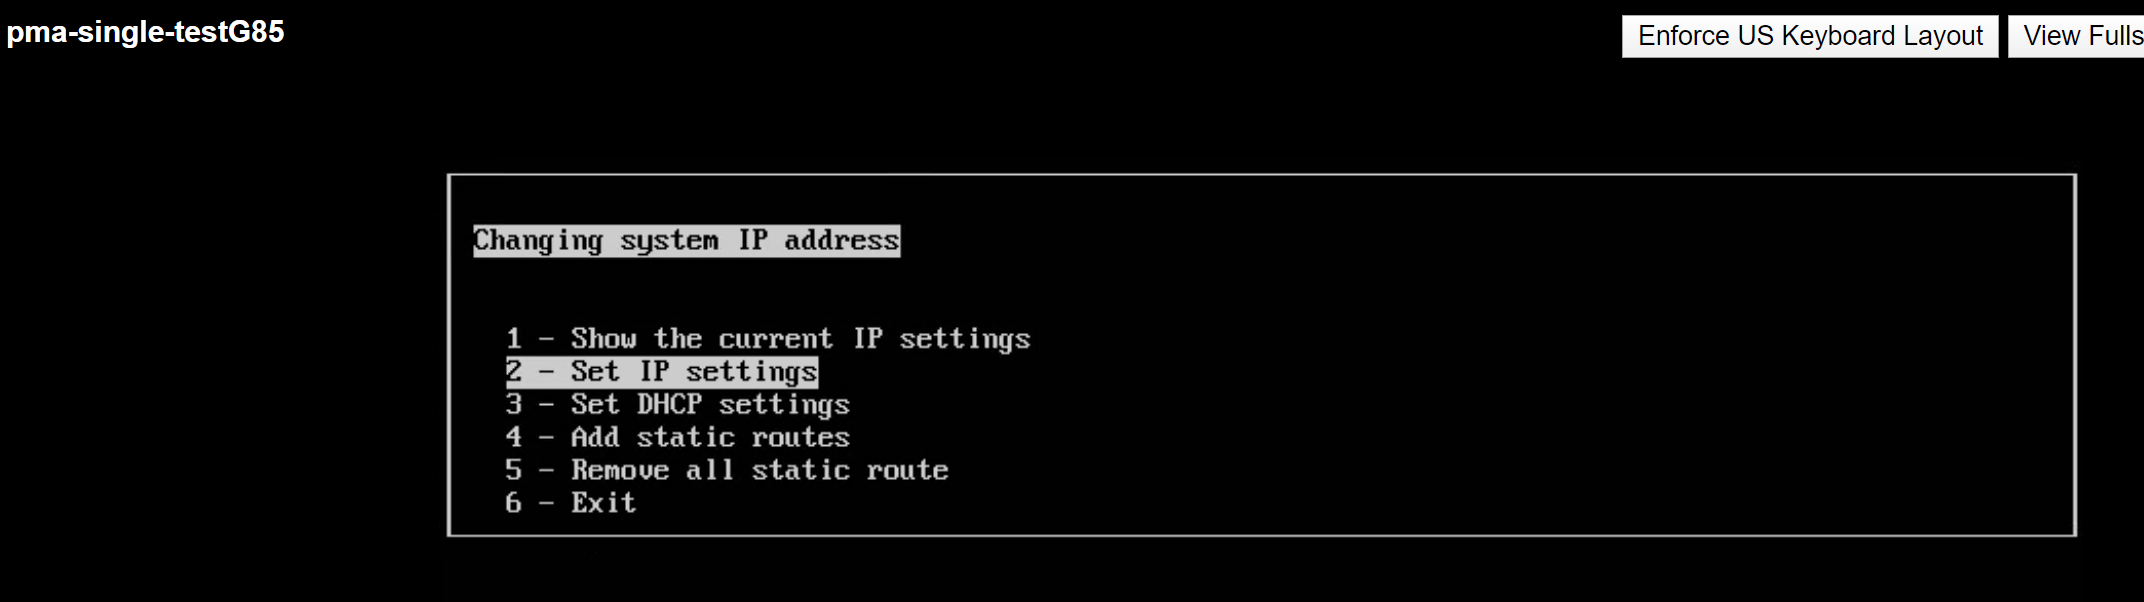
- Set the parameters.
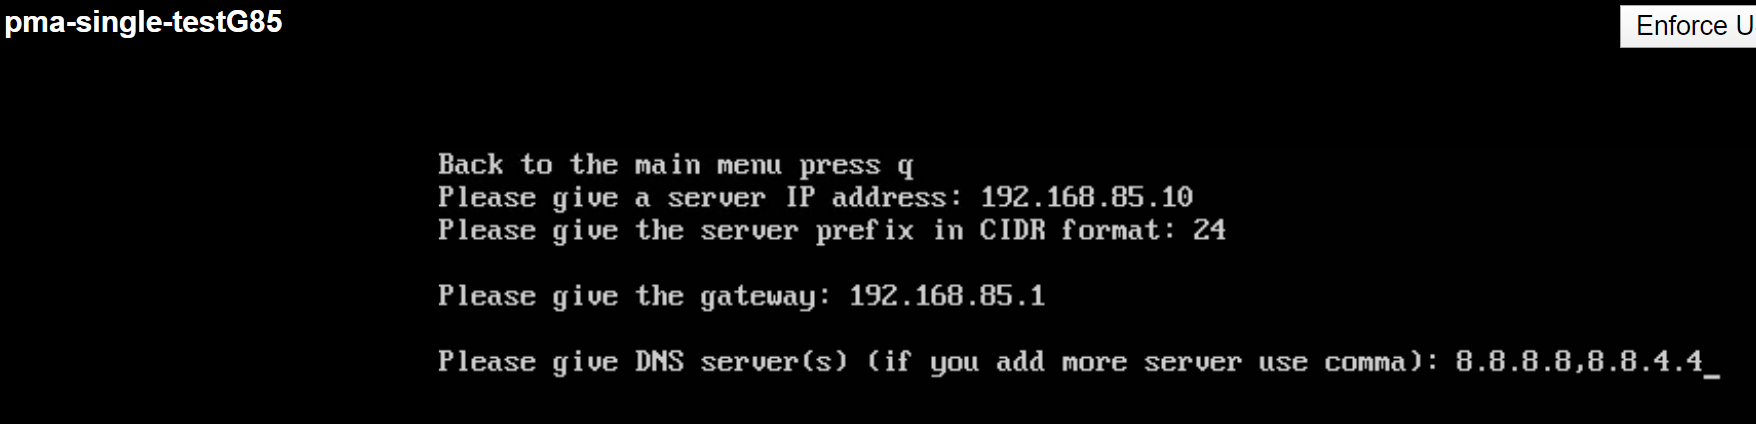
- It will first ask for the Server IP, which is the IP address you want to assign.
- Set all the parameters the cmd interface asks for: here is an example:
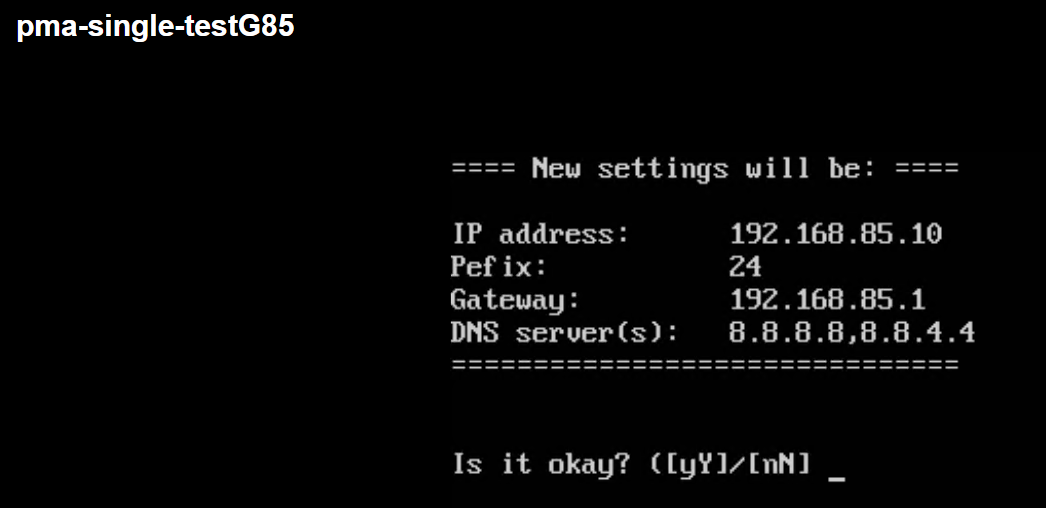
- Then the network parameters are set, from now on you can connect to Padmin remotely (via Padmin URL)
- Set the parameters.
Once you have configured the virtual machine, you can continue with the installation of PassMan.